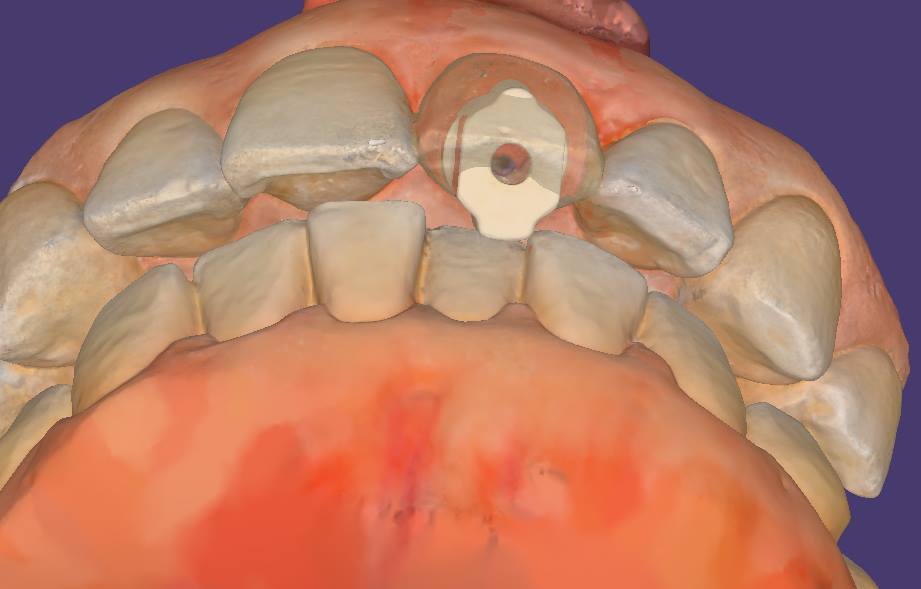
Dental implant surgery and restorations were the most risky procedures just 10 years ago. They were also the most profitable, but also carried the largest liability and the most significant surgical and restorative lab costs. A simple error introduced in the restorative process could easily eliminate the profit margin and a more significant mishap can create an undesirable outcome
We have seen dramatic changes in implant surgery where both the cost of the surgical stent and the fixture placement have reduced to the point where fully guided surgery is now the norm as they speed up the surgery and normalize the accuracy of placement across a broad range of practitioners with varying levels of experience. We are now seeing the same type of effect on the restorative side of the implant treatment, where digital dentistry is greatly reducing costs and errors.
With permission from blueskybio.com, we captured some key elements with analog impressions to highlight potential errors that can be introduced. The full video can be seen here:
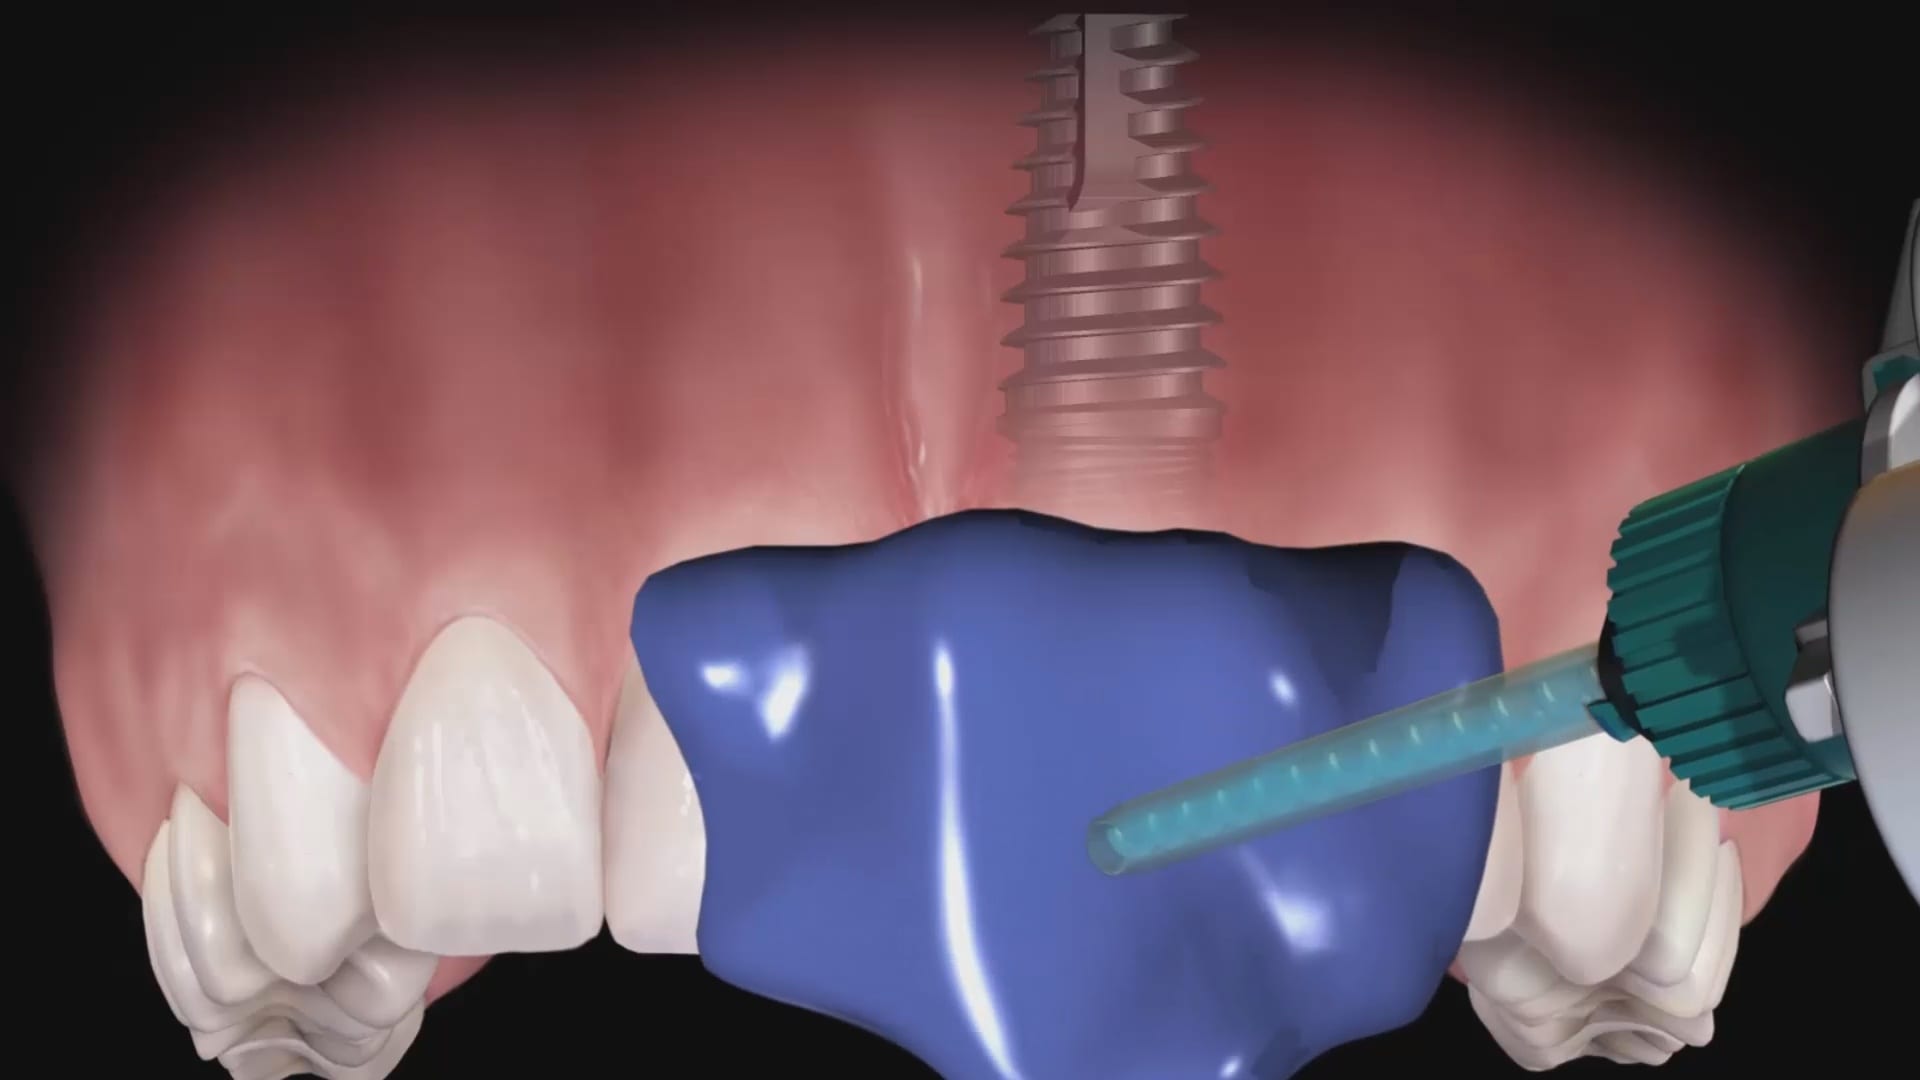
The common sources of errors that someone can introduce are:
- The inherent nature of impression material that can distort during the impression step
- The angulation of the impression abutment may prevent it from seating all the way or may bind on the adjacent teeth making it difficult to capture an accurate impression
- The size of the impression abutment can usually block access to the contours of the adjacent teeth where the pvs material does not capture the detail needed to generate good contacts and emergence profiles
- Not securing the implant analog with the abutment in the impression material so that it does not distort or vibrate out of its position while pouring stone into the PVS material
- With multiple implant, the problems can compound exponentially if the implants do not draw well together with complications ranging from locking the tray in the patient’s mouth accidentally or distorting the impression material enough when removing it where you decrease the accuracy. Some practitioners prefer to do this in multiple steps, correcting angulation and collisions with custom abutments and several impressions
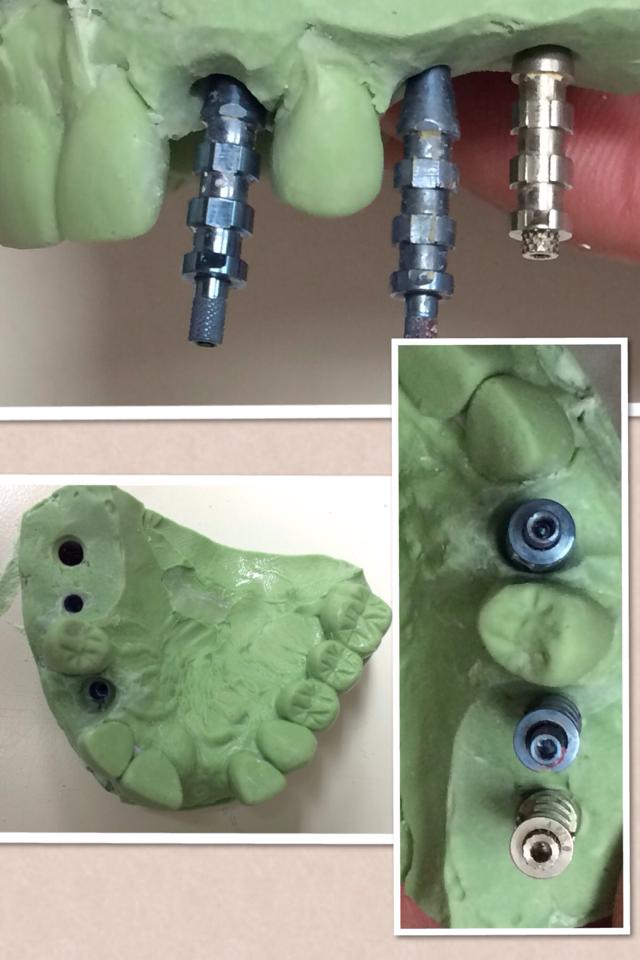
Fortunately, in this impression of 3 implants that were placed with a guided, the impression abutments are parallel to each other but just a few degrees in either direction, you can have multiple collisions of the abutments with the adjacent teeth or in between the abutment themselves. What a scanbody does is it allows for the optical scan of a geometric shape that helps CAD software identify the exact location of an implant fixture, its timing, and its relationship to the arch form.
It has significant advantages as there is no distortion of the impression material. Moreover, you can capture all the detail of the adjacent teeth before you place the scanbody in the mouth. This dramatically reduces the errors and adjustments you will need to make during the seat appointment.
This video shows you the contour or the shape of a specific scanbdoy. There are many manufacturers that produce the scanbodies for a variety of fixtures with different geometries. Ideally, you use a titanium based one so that you can take an x-ray to make sure it is seated all the way. A frequent cause for error with digital impression is that you bind on tissue of bone which block you form seating all the way.
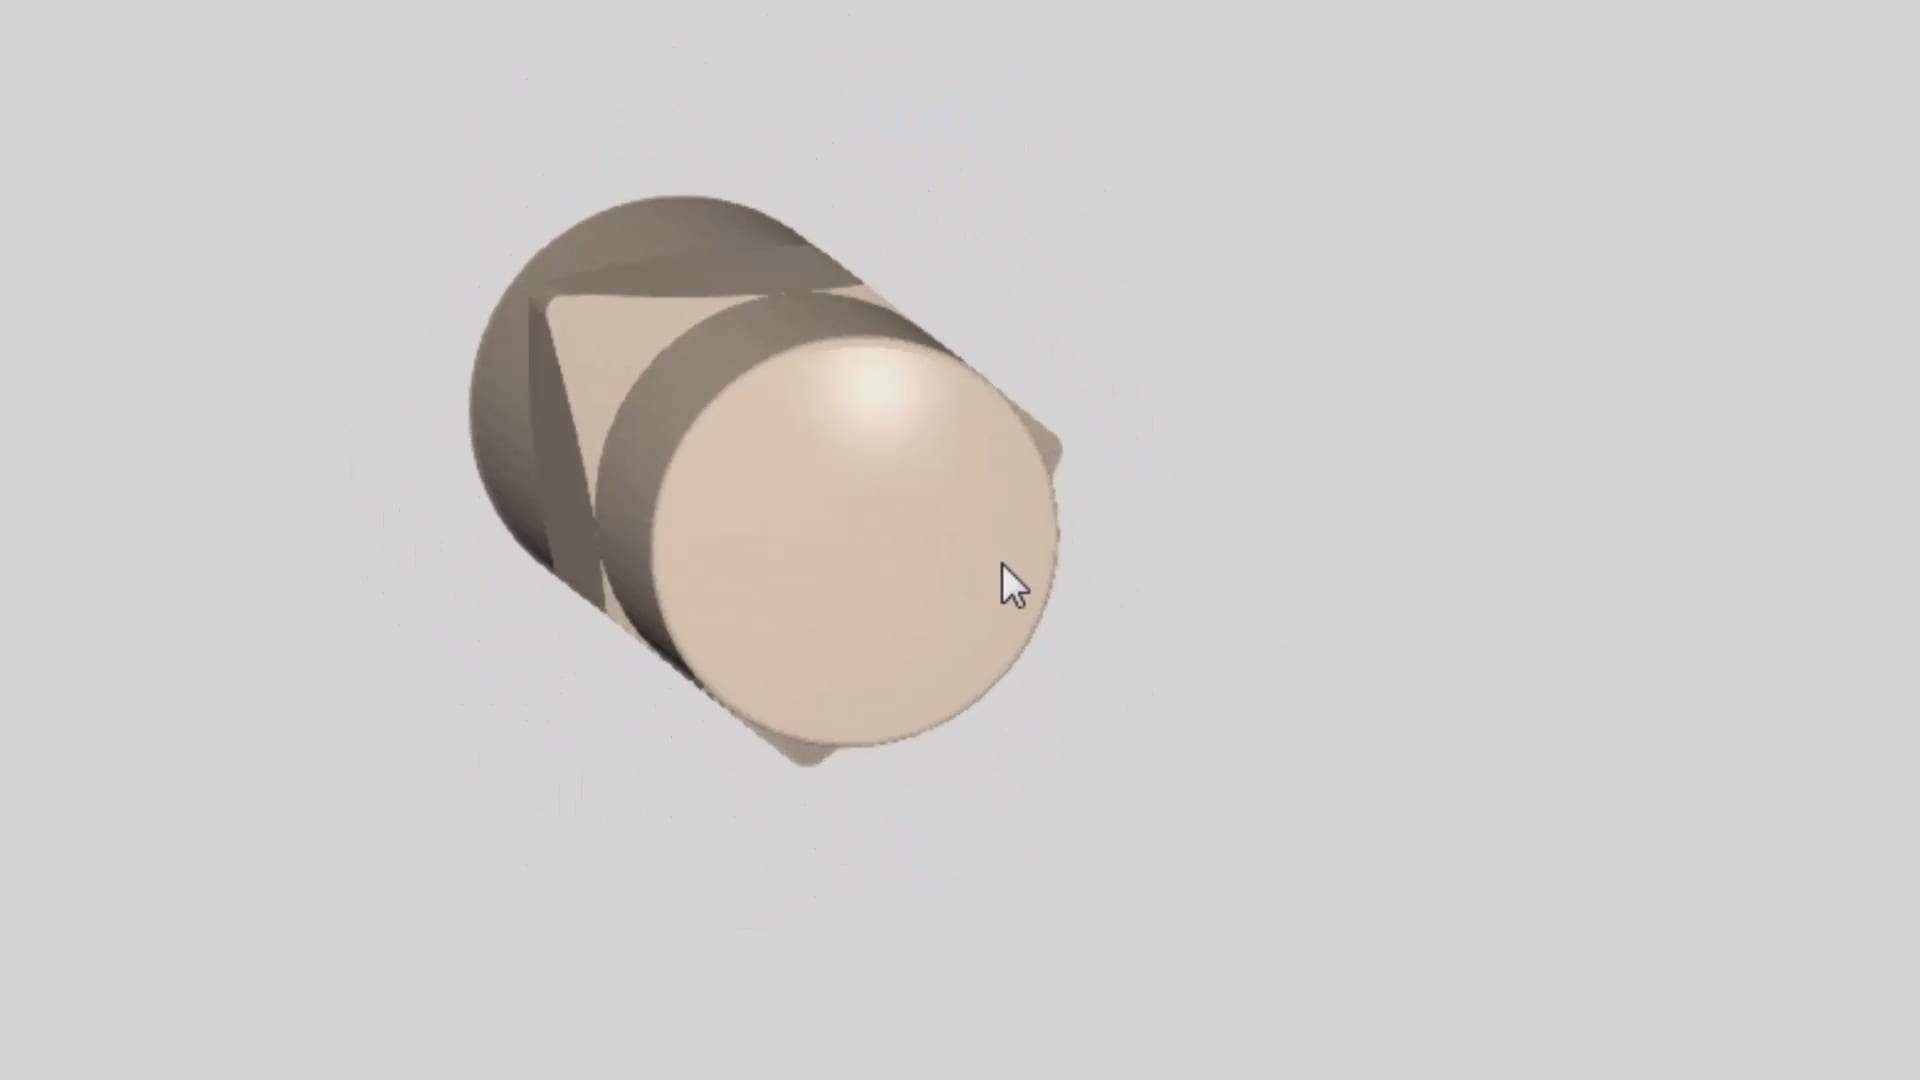
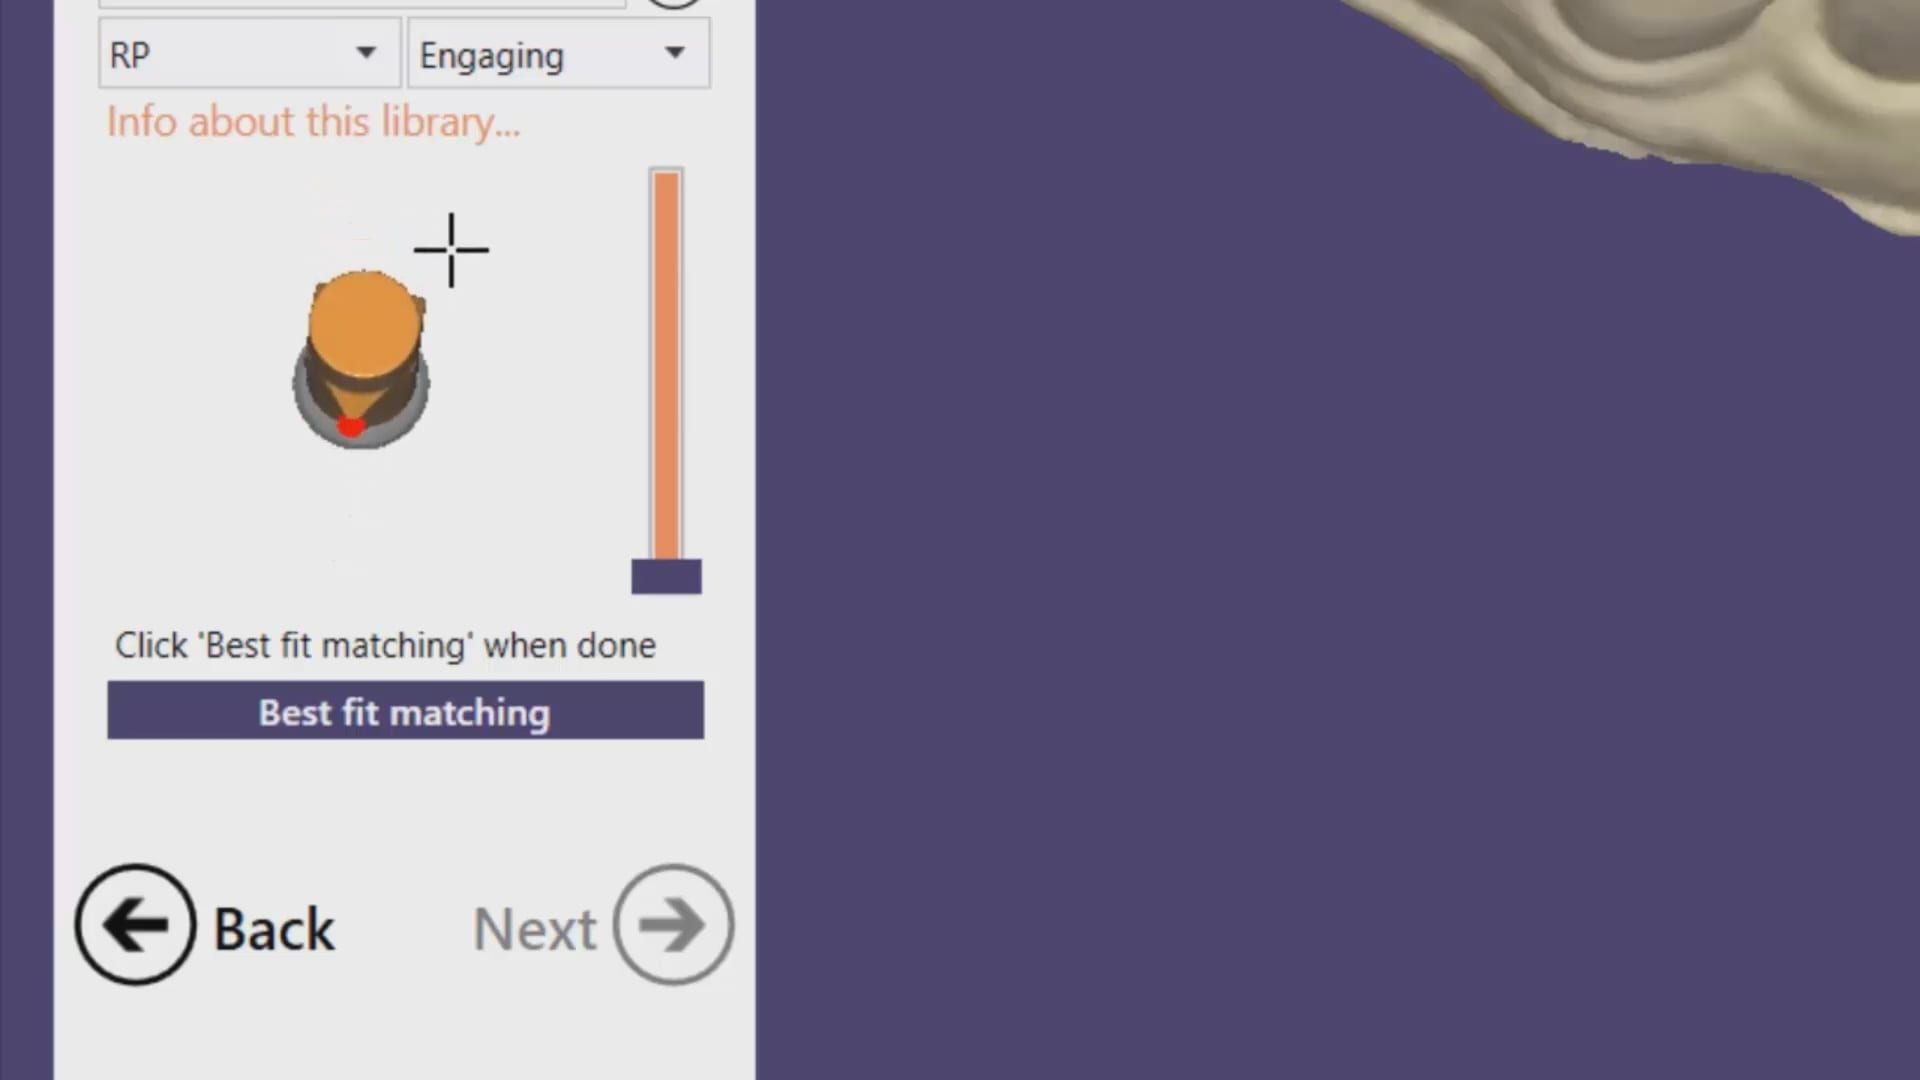
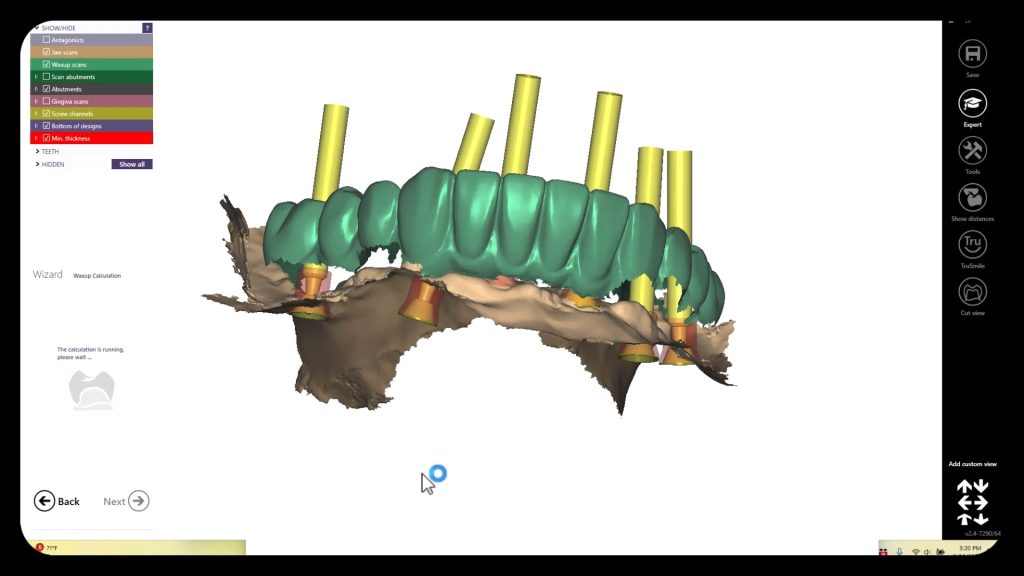
Once you have scanned the pertinent information, you can then take the digital models to CAD software where the location of the fixture is identified digitally and you can design the restoration of your choice. This can be titanium abutment or a tibase that retrofits ceramic material like emax or zirconia. The following video demonstrates how you identify the scanbody in exocad and proceed with a sample design.
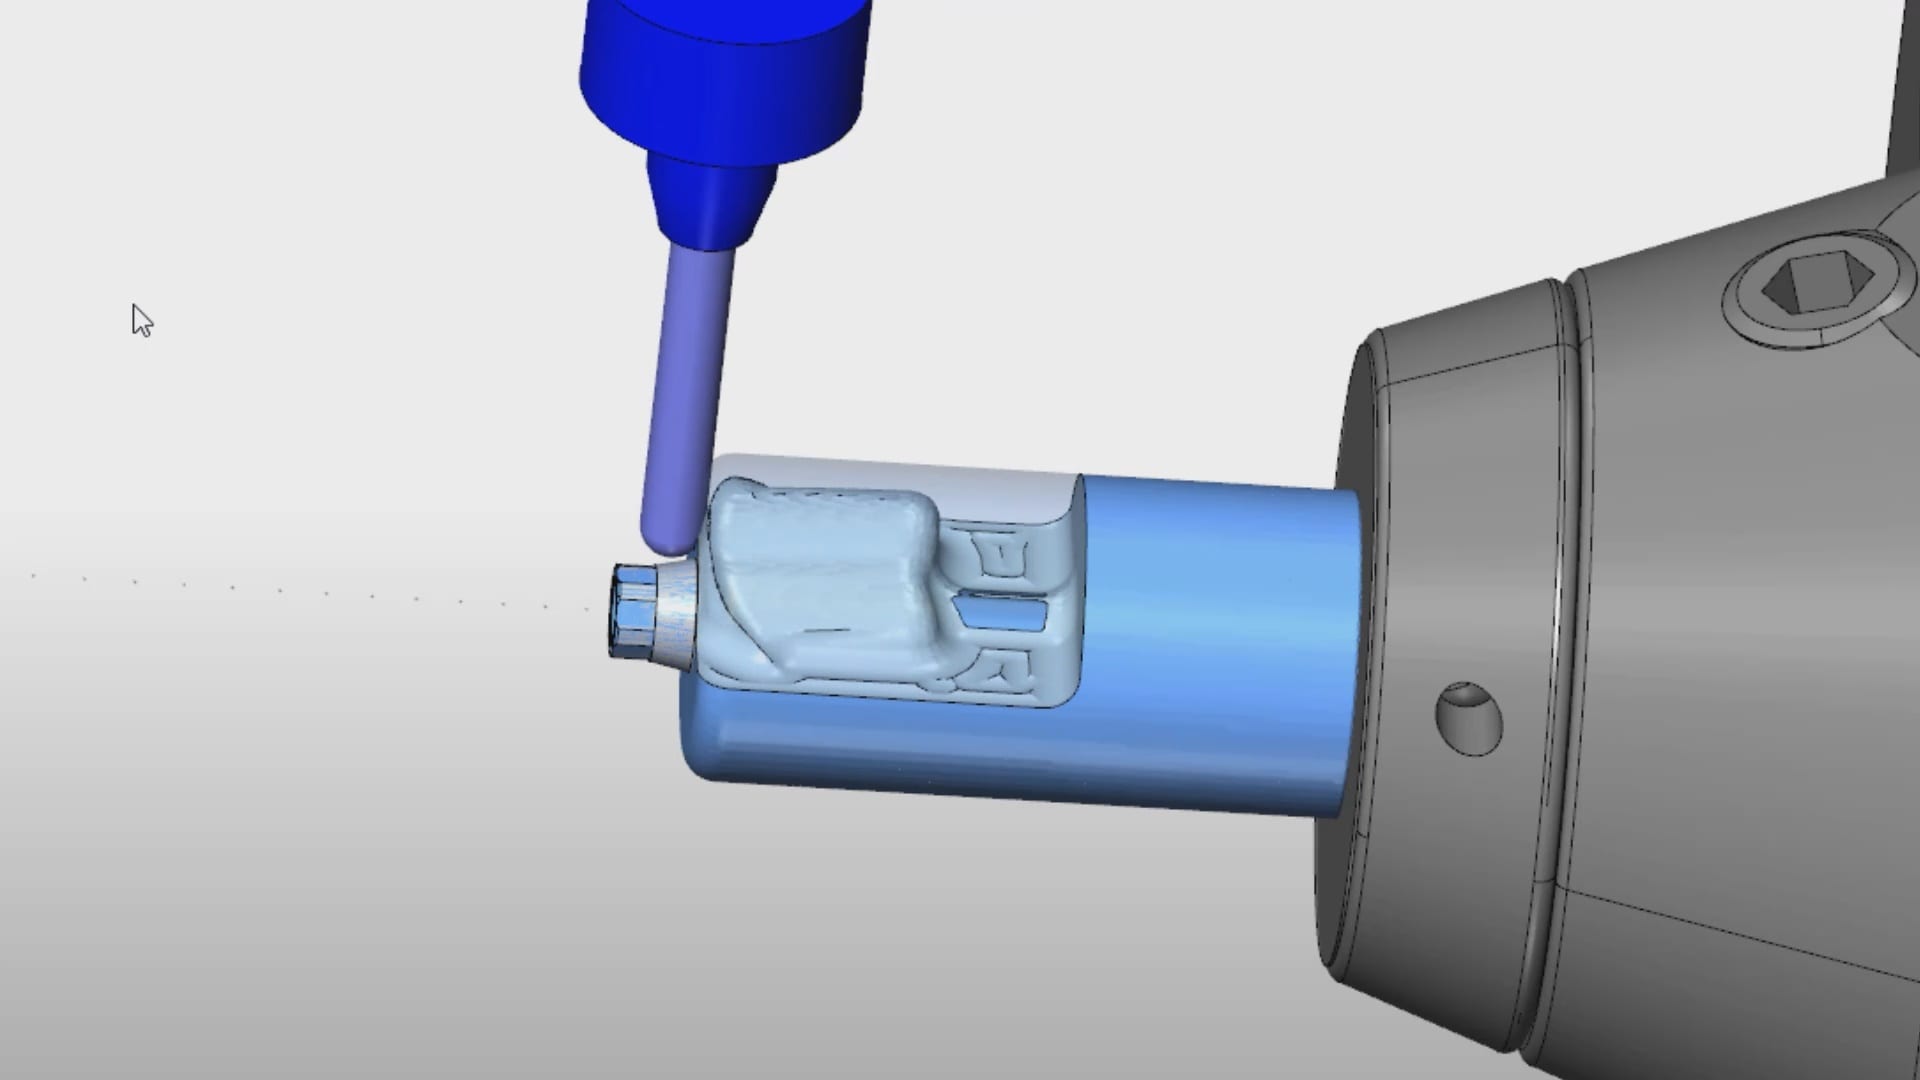
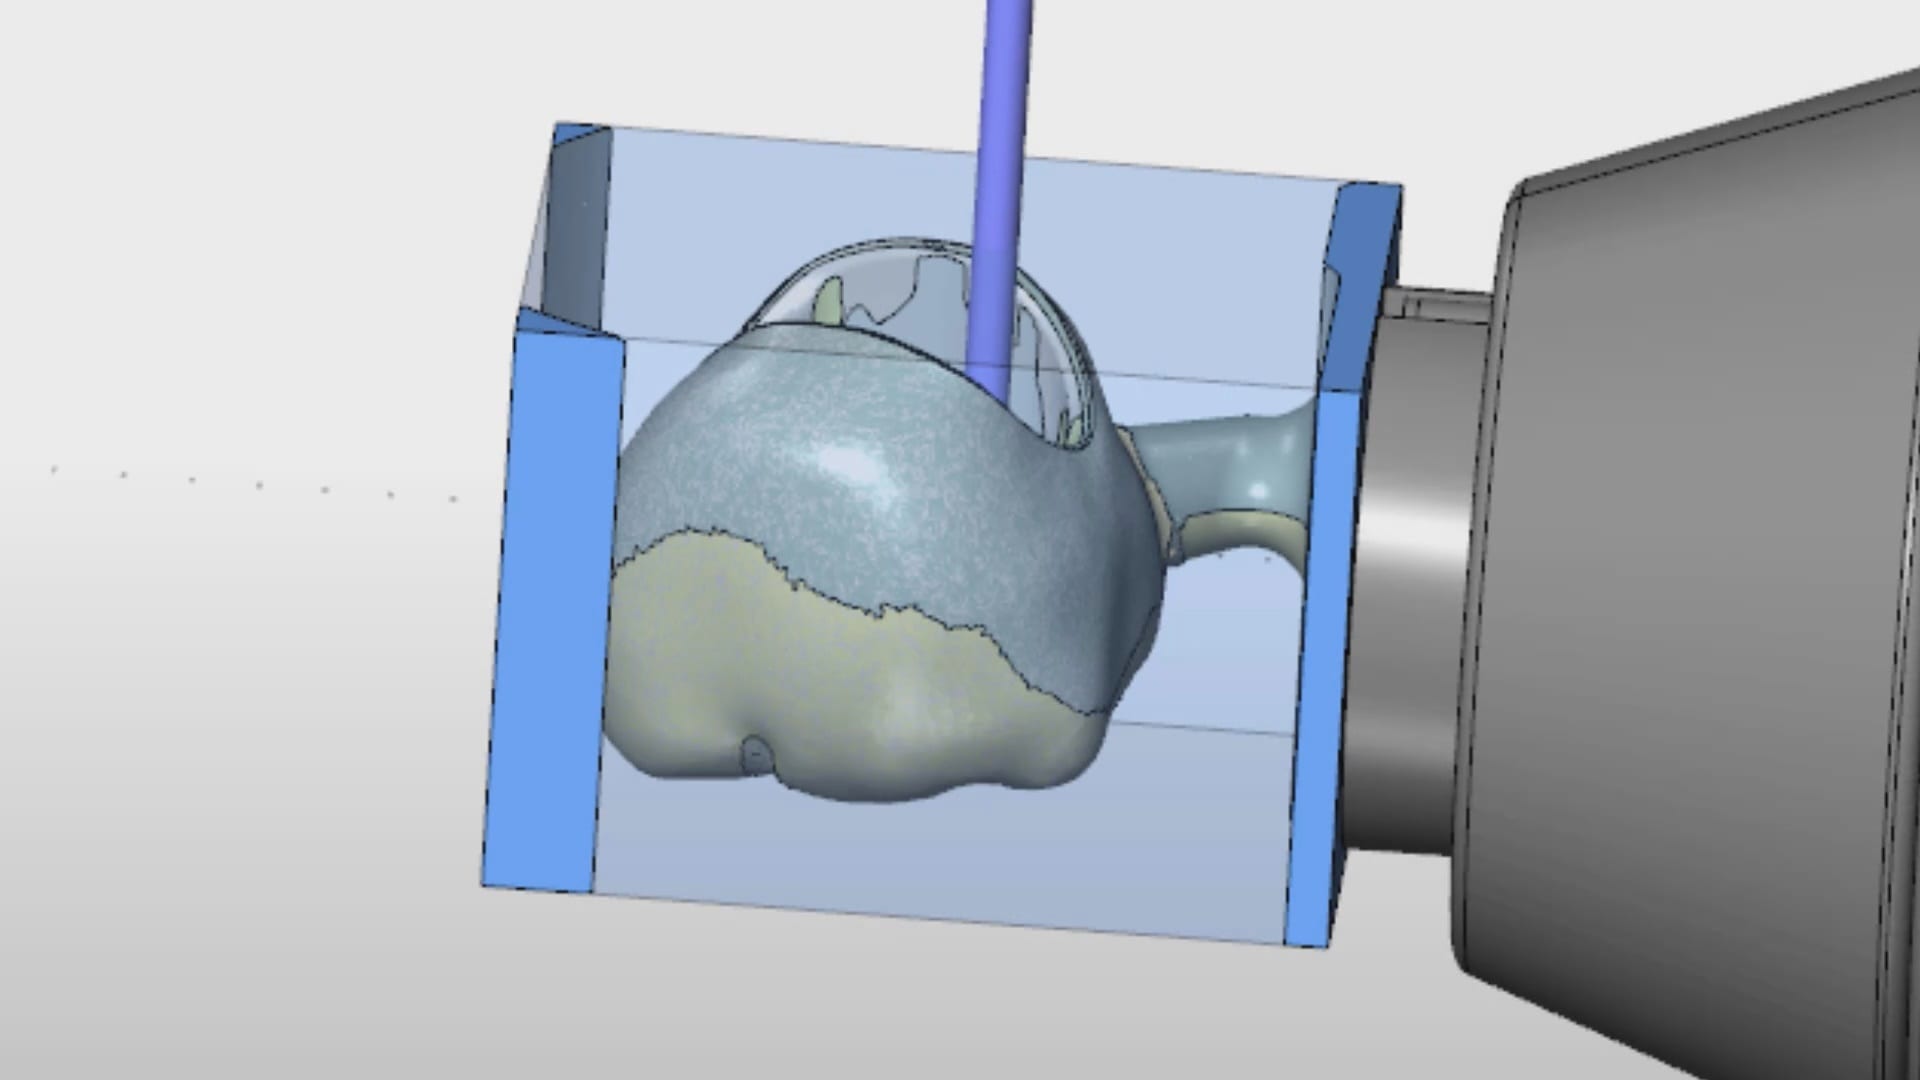
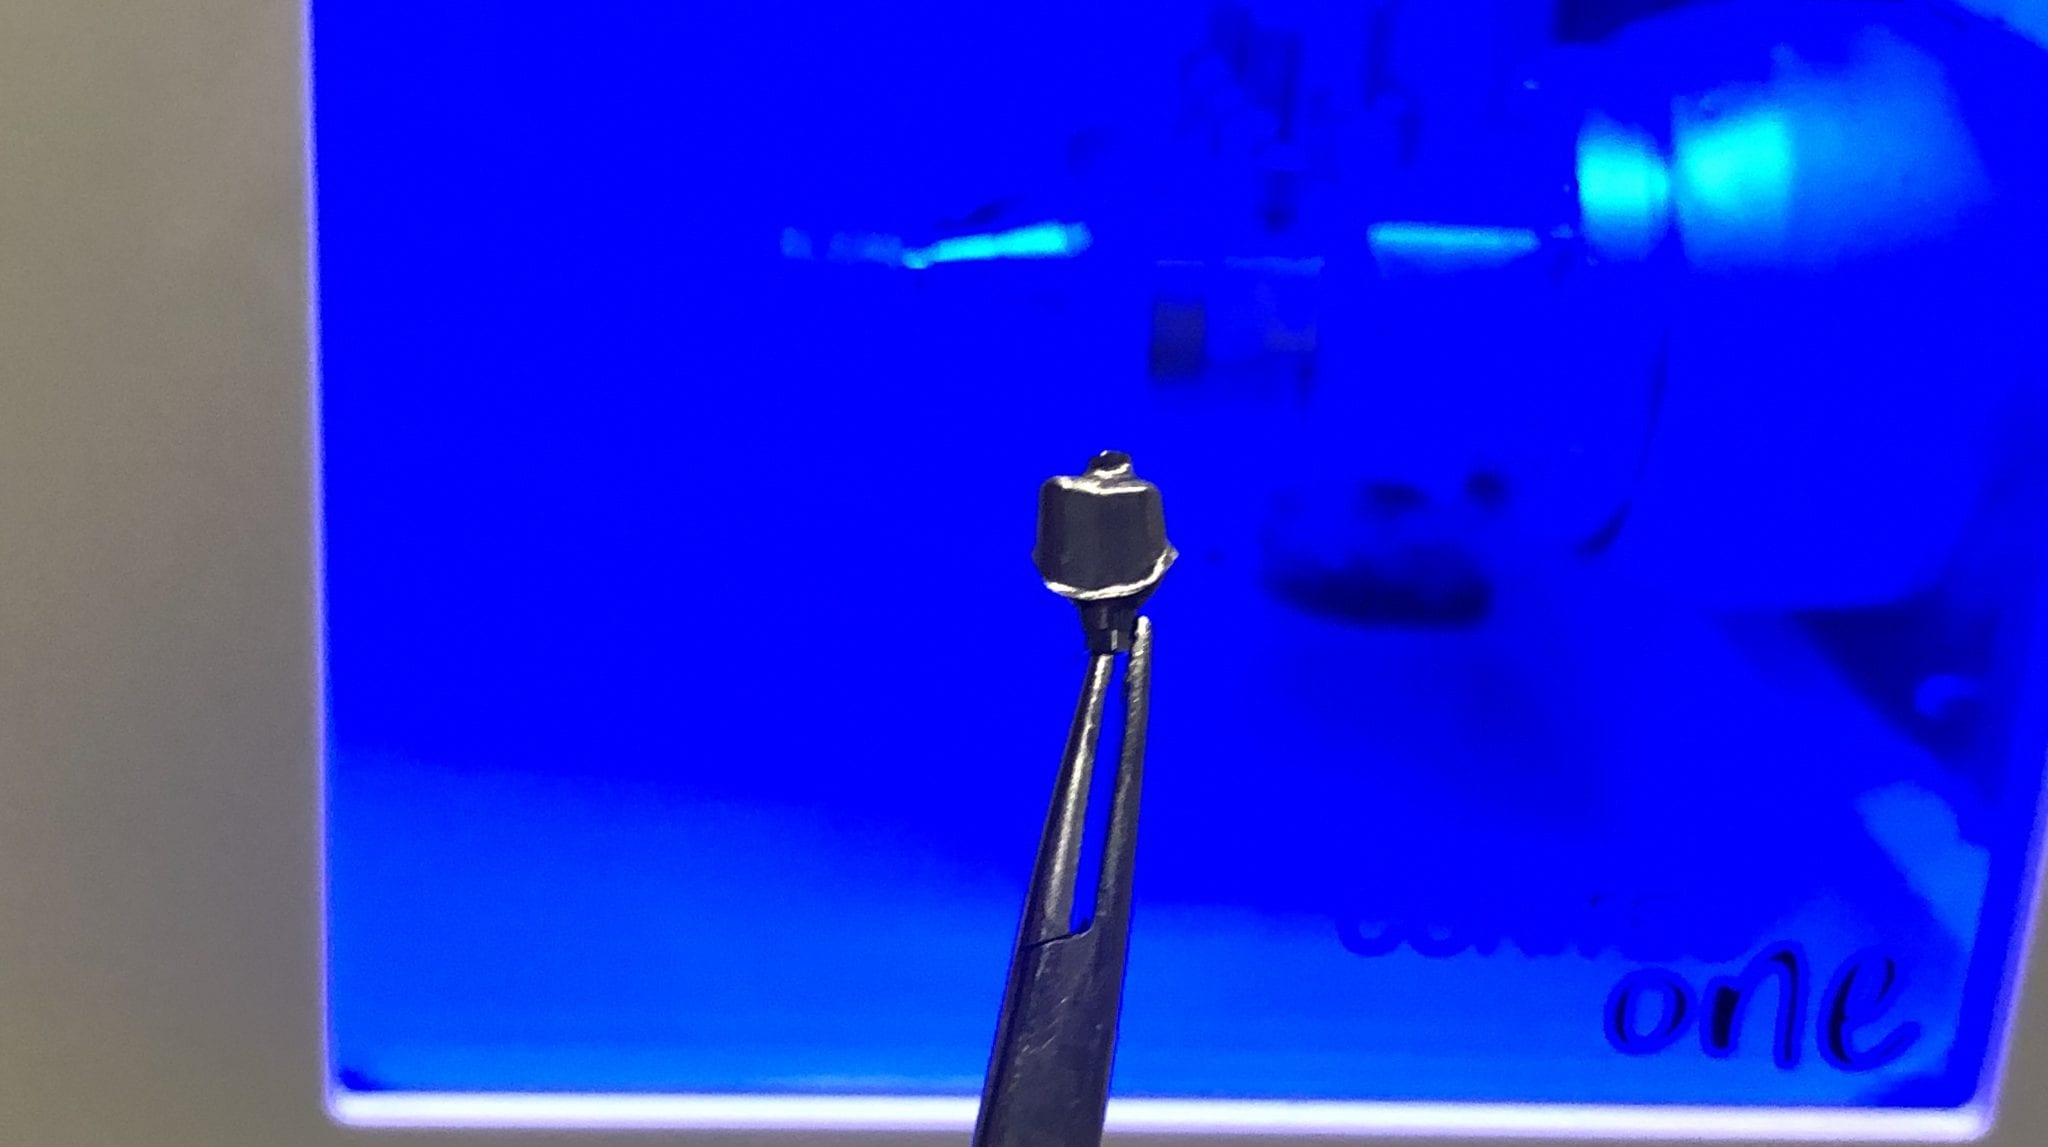
Once the design is completed, you can outsource the fabrication of the abutment and/or the crown. There are many machines that you can use to fabricate the titanium abutment. Please note that the milling machines do not mill the connection. The connection to the implant comes pre-manufactured. The cylindrical block is milled to shape. The cad software also maintains the relationship of the abutment to the crown so that they retrofit to each other.
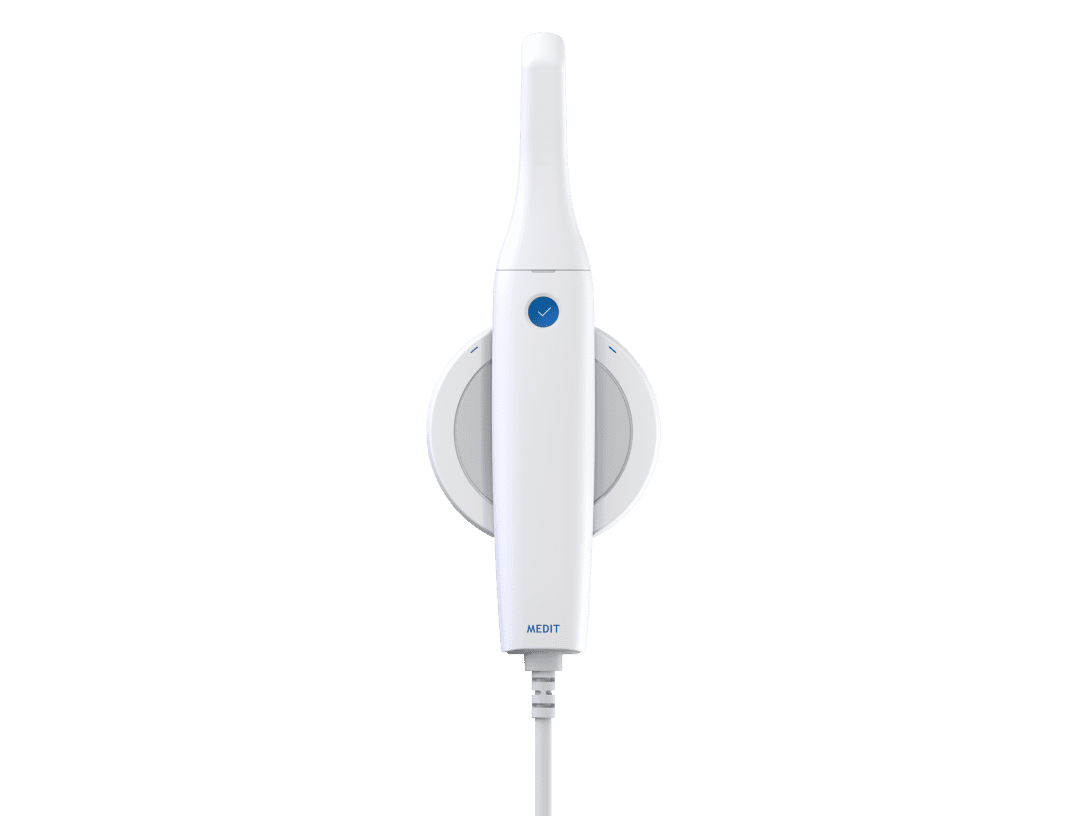
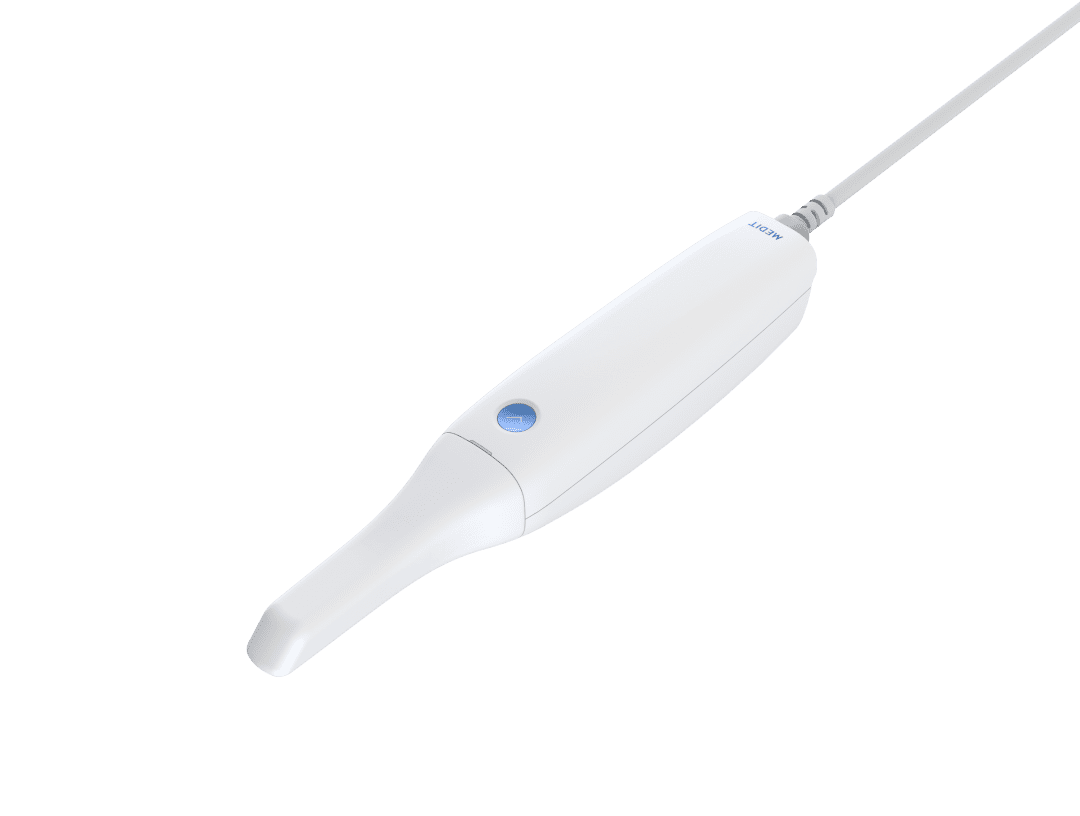
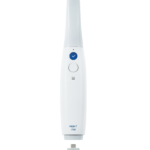
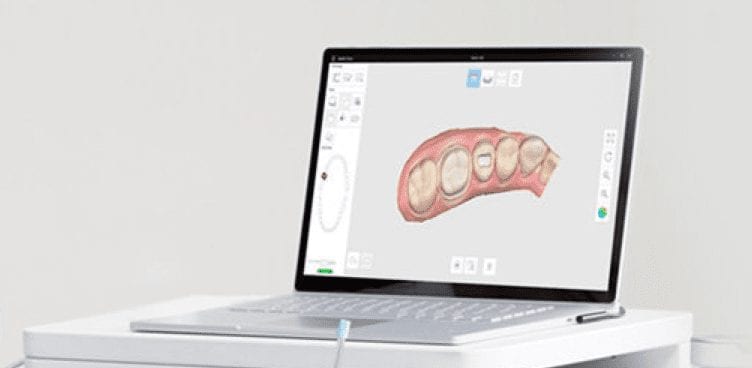
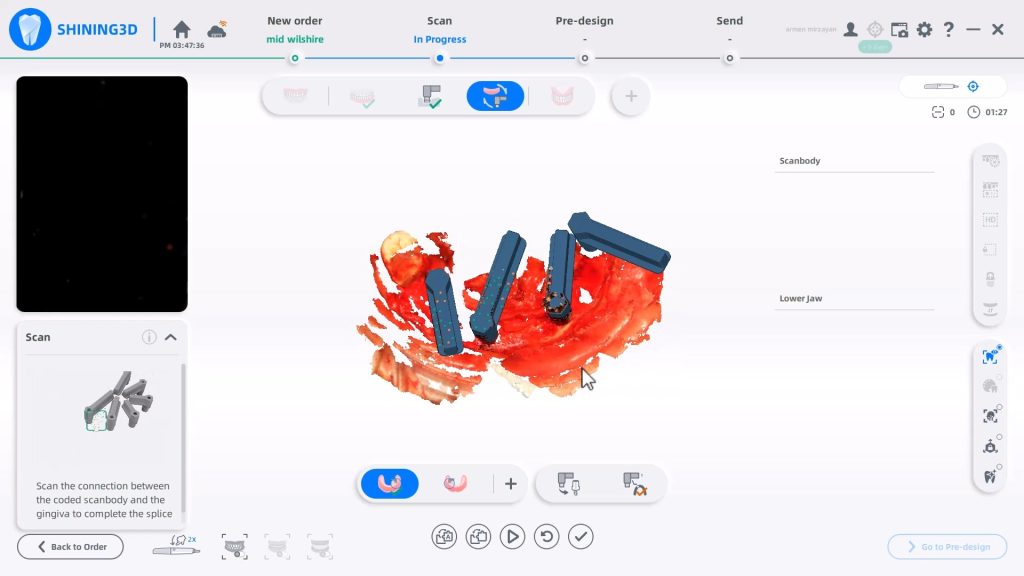
Now imagine if you had multiple implants that did not draw together? What’s great about digital dentistry and how we use the Medit i500 here is how we utilize a single scanbody to capture the location of 3 fixtures. One thing we emphasize at CAD-Ray is how digital impression allow you to create models over time and out of sequence. They are also editable and additive. In the subsequent video we demonstrate how you can capture segments at a time, which can greatly help when you have implant abutments colliding into each other.
You can place the scanbdoy in one location, scan it, digitally protect the area, remove the scanbody, place it into another location and image it at the new location, dramatically overcoming all the obstacles described above
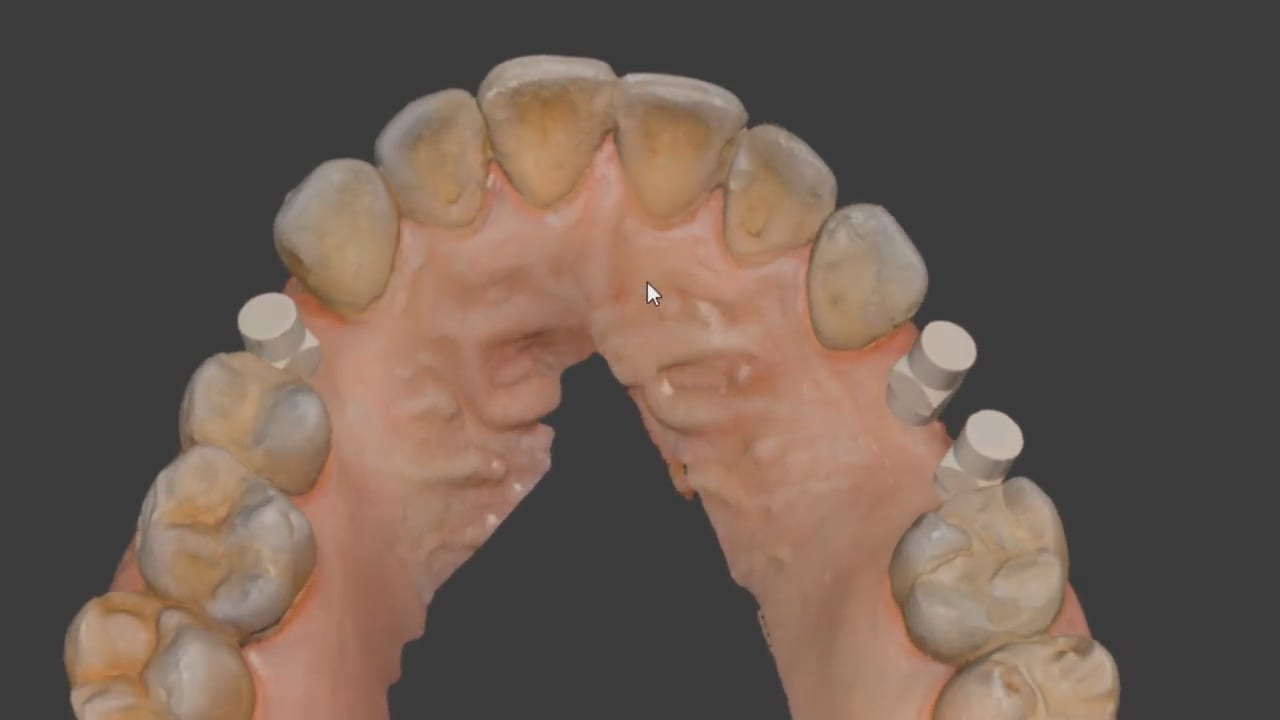
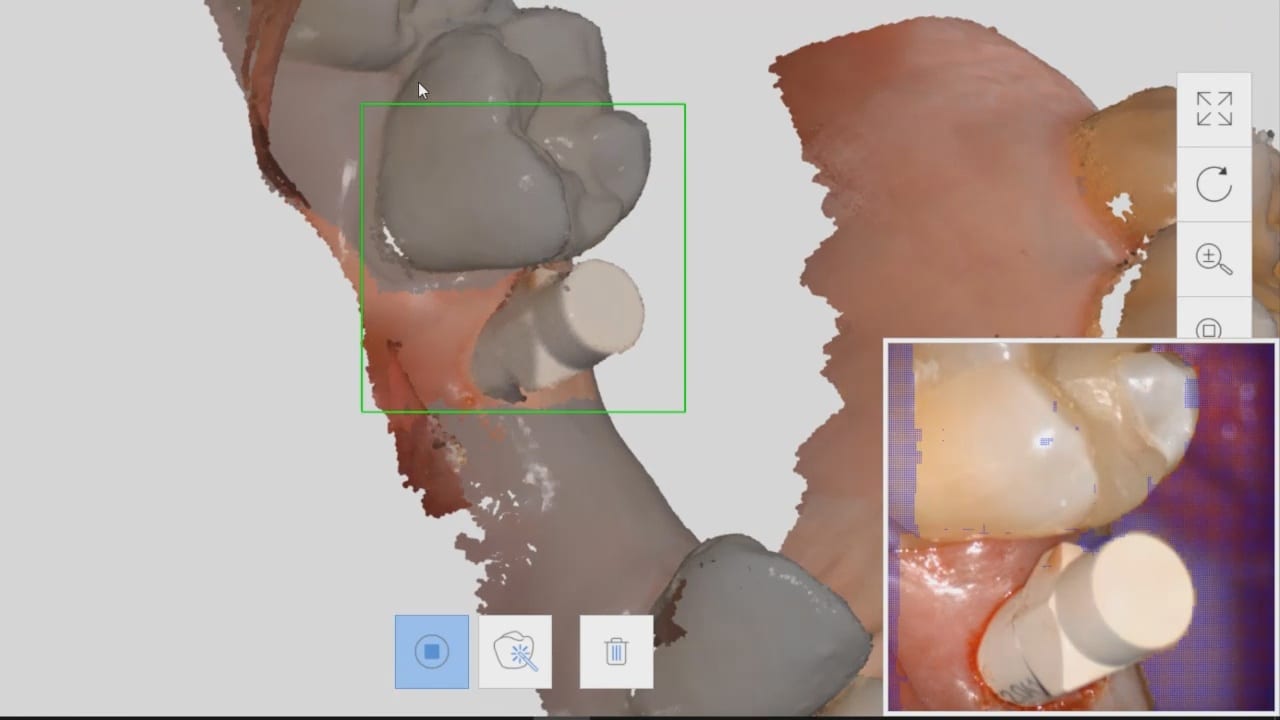
Now for the greatest news and the largest advancement in digital dentistry in a decade! Medit i500 has launched the Artificial Intelligent Implant Identification System where the software automatically recognizes these scanbody and lets you skip dozens of steps to get to the immediate design steps of the restoration. The algorithm utilized to match the digital scanbody to the physical one is proprietary to Medit and is unparalleled in its accuracy. A lot of the guess work and inherent errors in the digital platforms are reduced with this software which is a contrasting as the difference between analog and digital impressions.
Posted by Armen Mirzayan on Monday, September 23, 2019





You must log in to post a comment.