
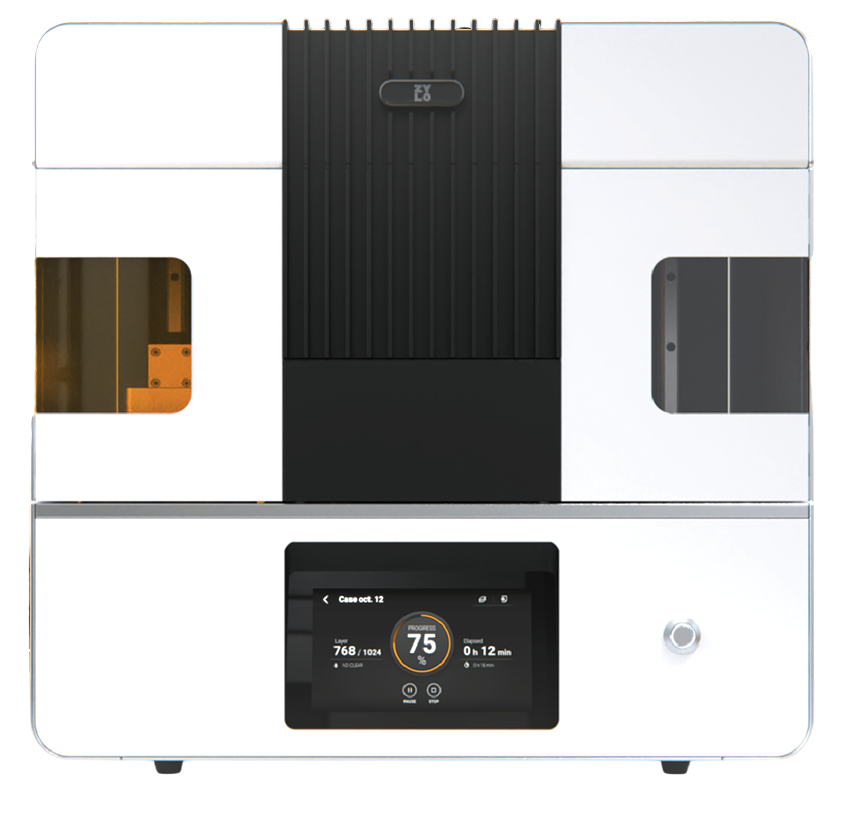


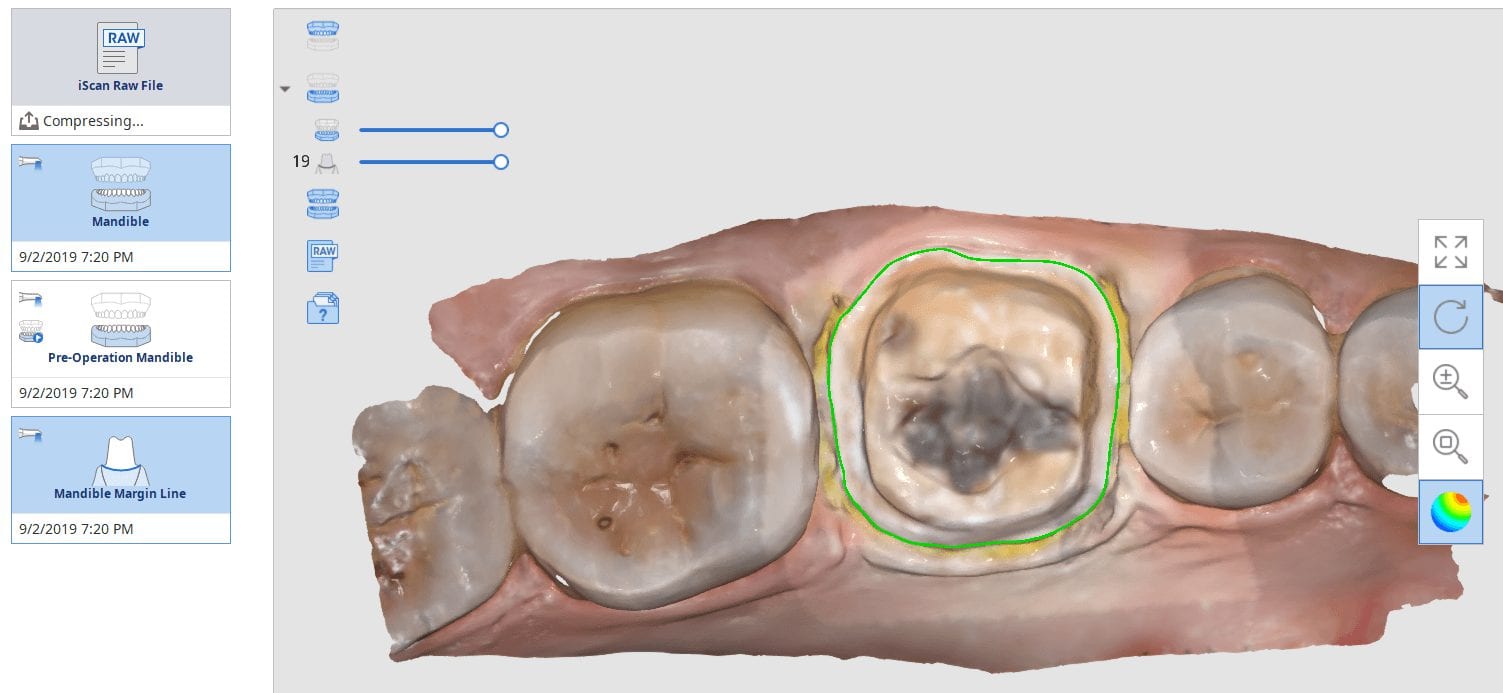
On September 5, 2019 Medit will officially launch the 2.1 software that will allow dentists to mark their own margins before sending to the lab. Since most images captured from models are inherently large in file size, you can selectively focus on the area where the raw images are taken. You highlight the area and you process the data sets as shown in the first video.
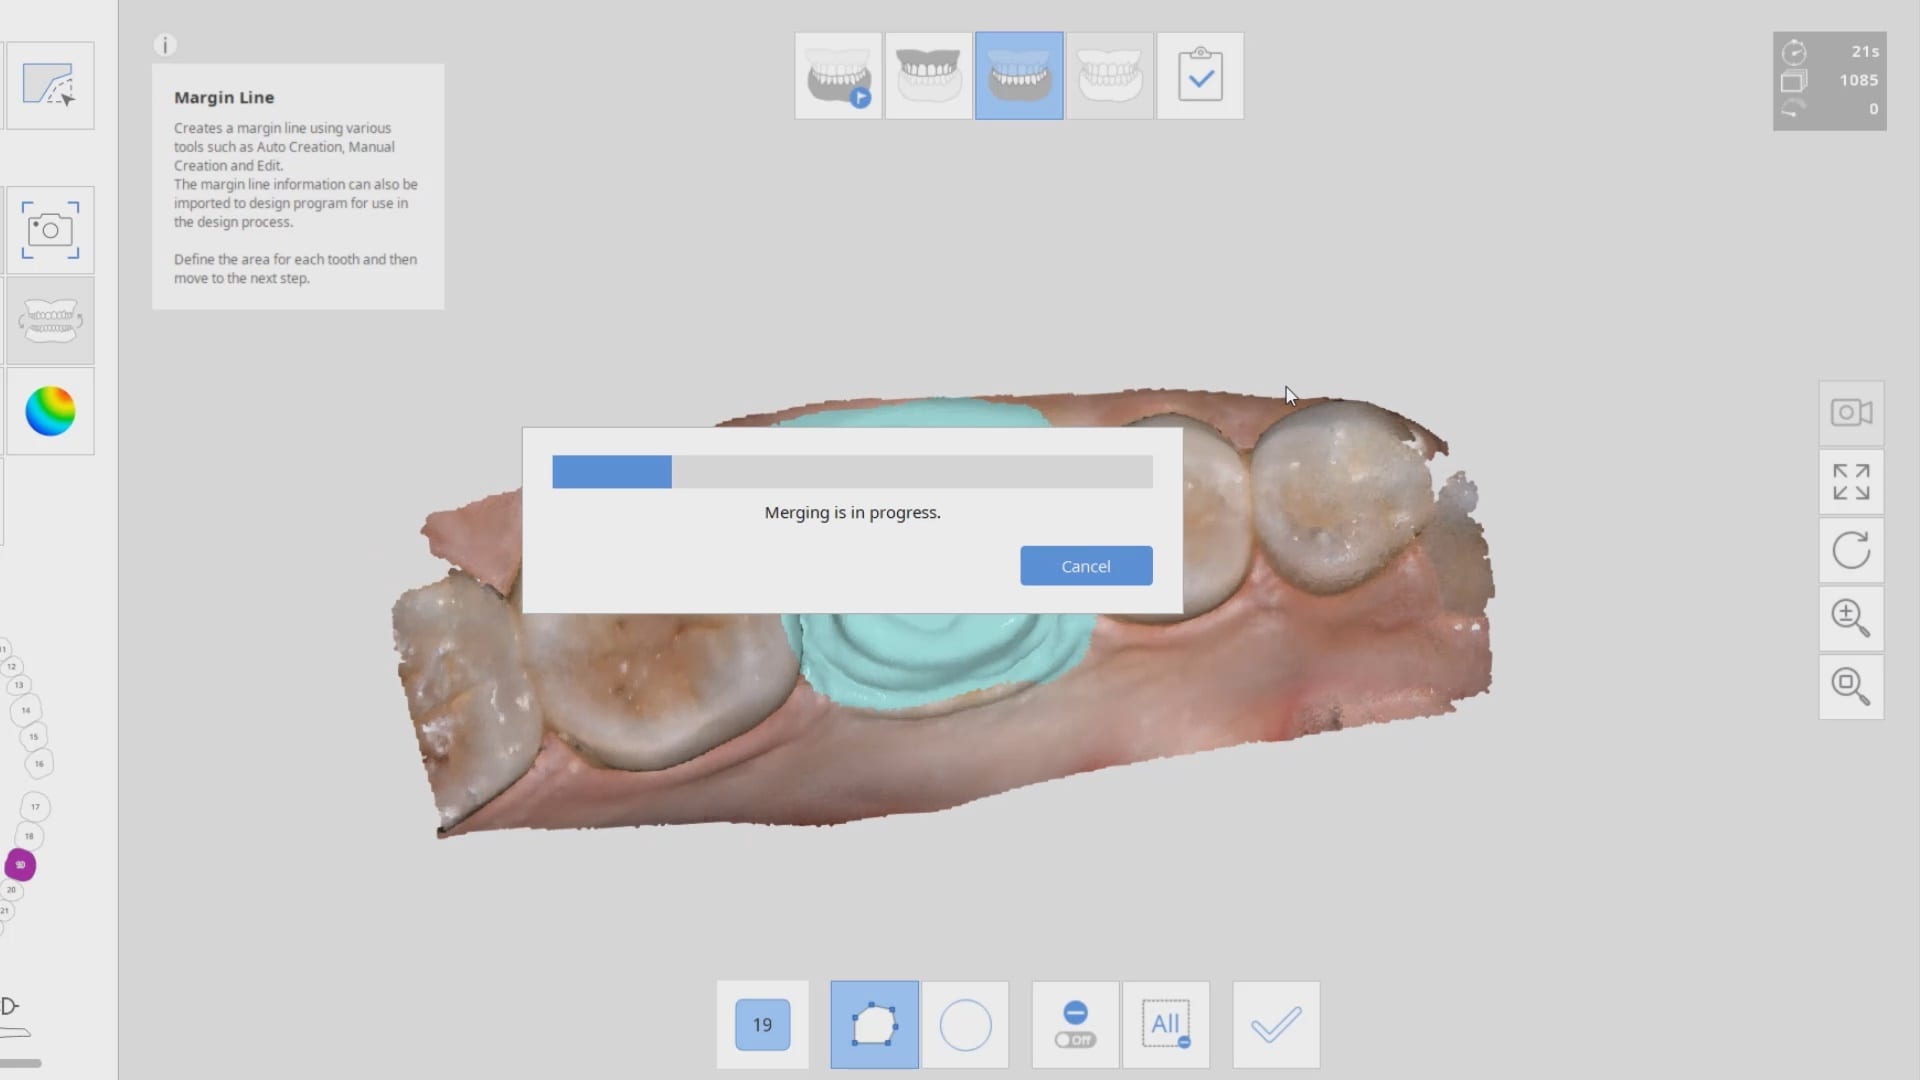

Once the area is identified, you can utilize the margin marking tool. You have many aids to help with margins, including the ability to visualize the transition from one plane to another, along with colors in the models.
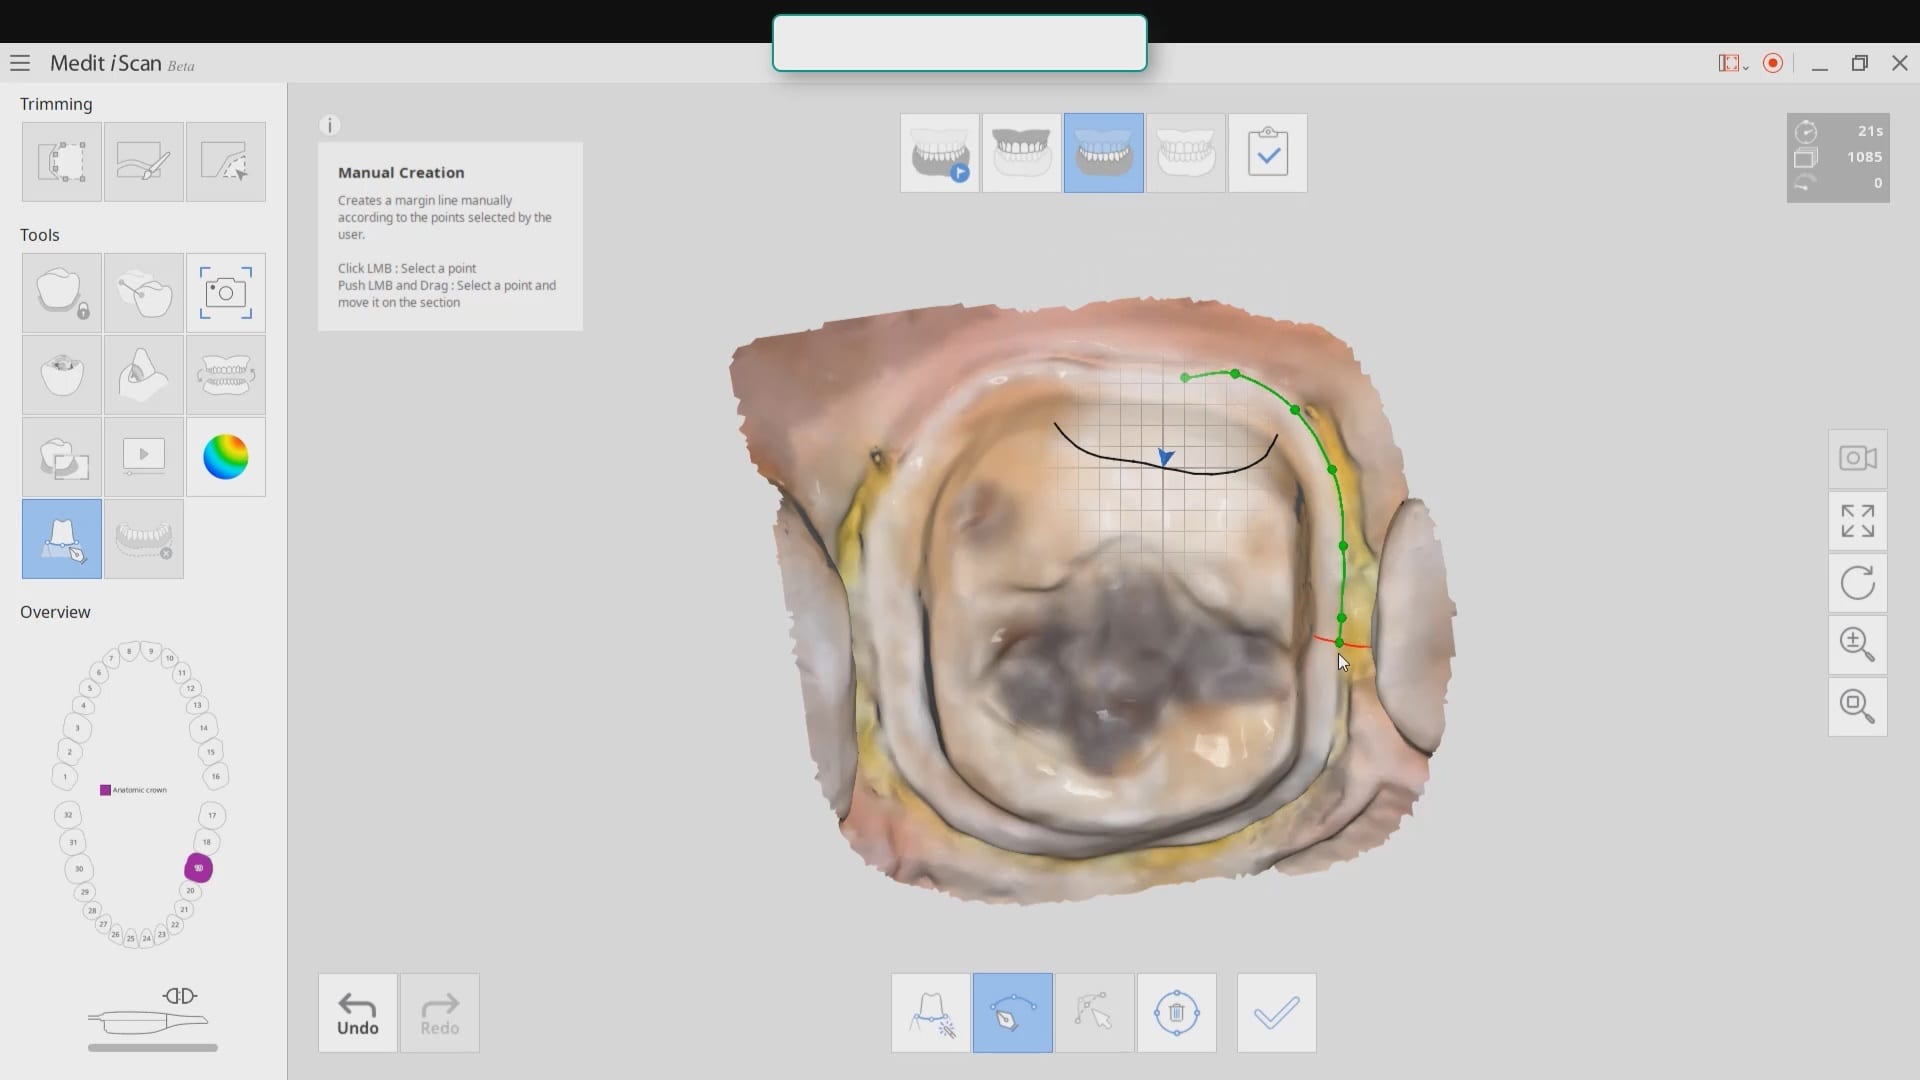
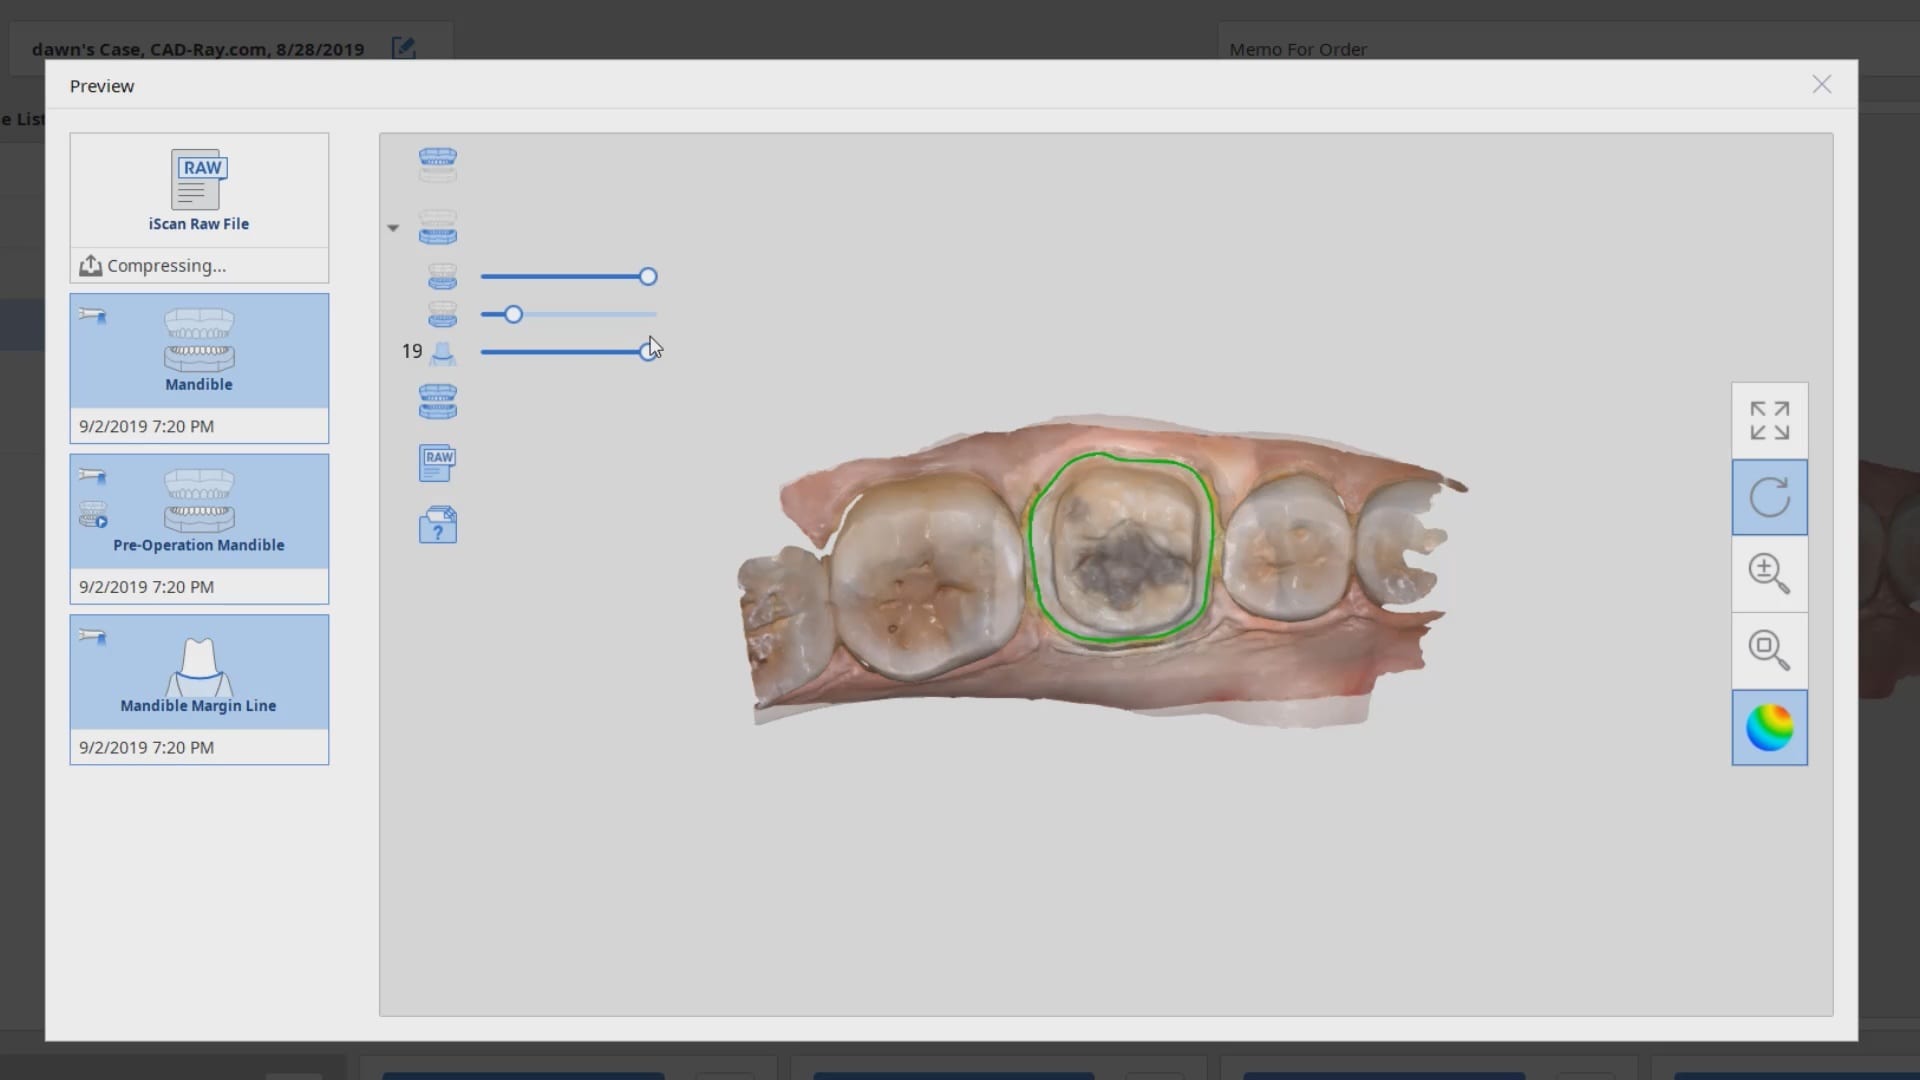
In this preview, you can see which models were rendered: the lower pre-op, the lower prepped arch, and the coordinates of the margin line.
Once you have captured this detail you can click on the cad software and continue with design or submit it to your lab so they can proceed with the design and fabrication.

Click On Image to Download The Case And Import Into Exocad


You must log in to post a comment.