A couple of great new features are coming to Medit V2.0 really soon. One is the ability to capture the pre-existing situation in one catalog box and the prepped arch in the other.
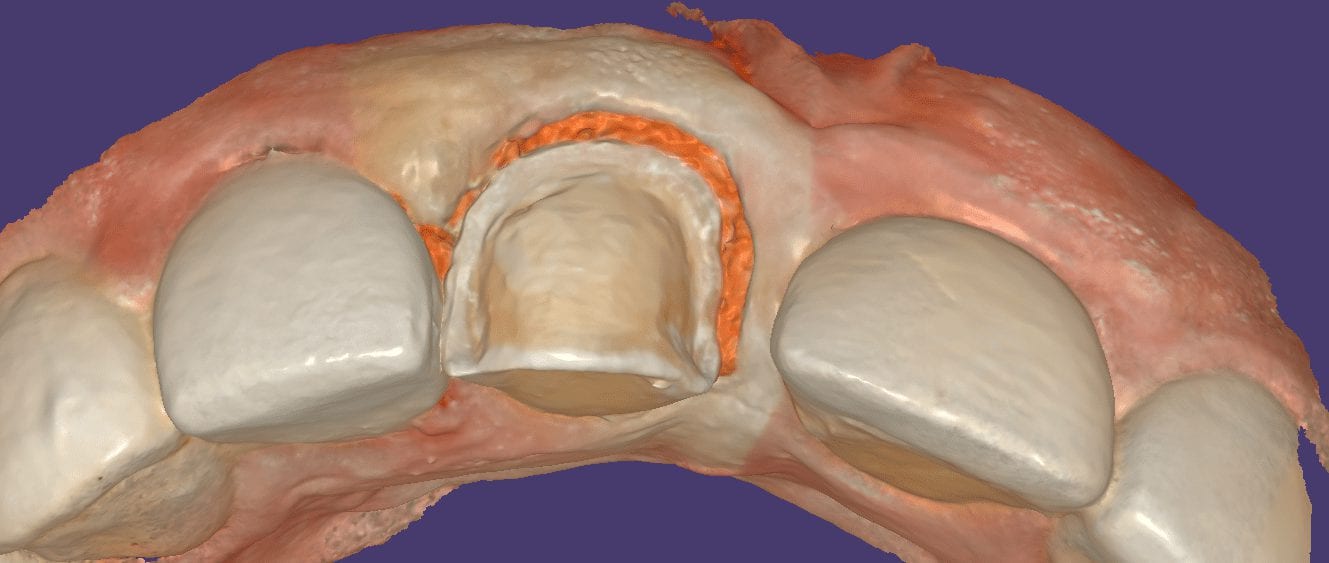
In this video you can see how the initial maxilla is captured in the first catalog box. Once that is done, the appropriate arch is selected and the model appears in the respective arch. You simple crop out the area where the preparation belongs and start imaging to fill in the space with the prepped arch.
The great part of this program is that the imaging of the preparation does not start until the software recognizes the adjacent landmarks. It is imperative that the same “stitching abutments” exist in both models. As a bonus, you can click on localized HD mode for the preparation where the detail is captured in high-resolution.
When you capture both the pre-op and the preparation model in this manner, it is an easy workflow in the CAD software to render the restoration. Since the models are related to each other, you can command the program to adapt the restoration to the teeth (or pre-op condition). For best results, you must trim the pre-existing condition in manner so that the only remaining area is above the margin circumferentially.
To achieve that, simple trim the pre-existing condition with the edit tool in the software. If the pre-op is in great condition, you will not have to do any adjustments. One over-riding feature that always prevails is the minimum thickness around the margins.
With the localized High Resolution mode in Medit v2.0 you can speed up processing time but not compromise resolution that allows for great fitting restorations, as you can see in the try-in step of this emax 3/4 crown


You must log in to post a comment.