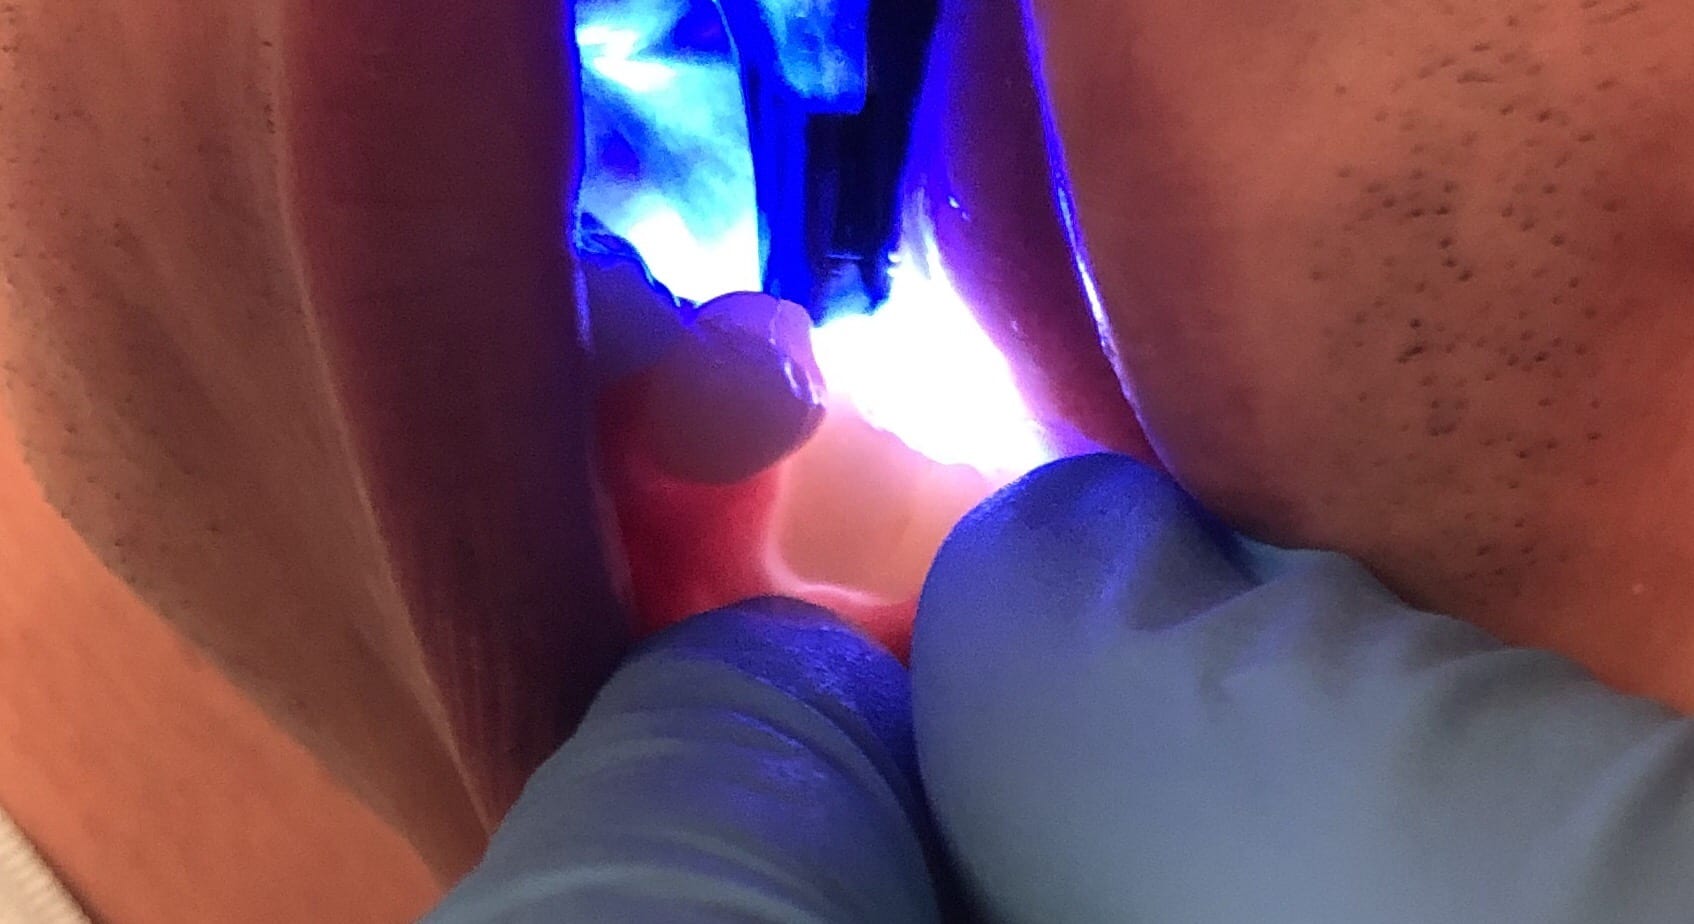
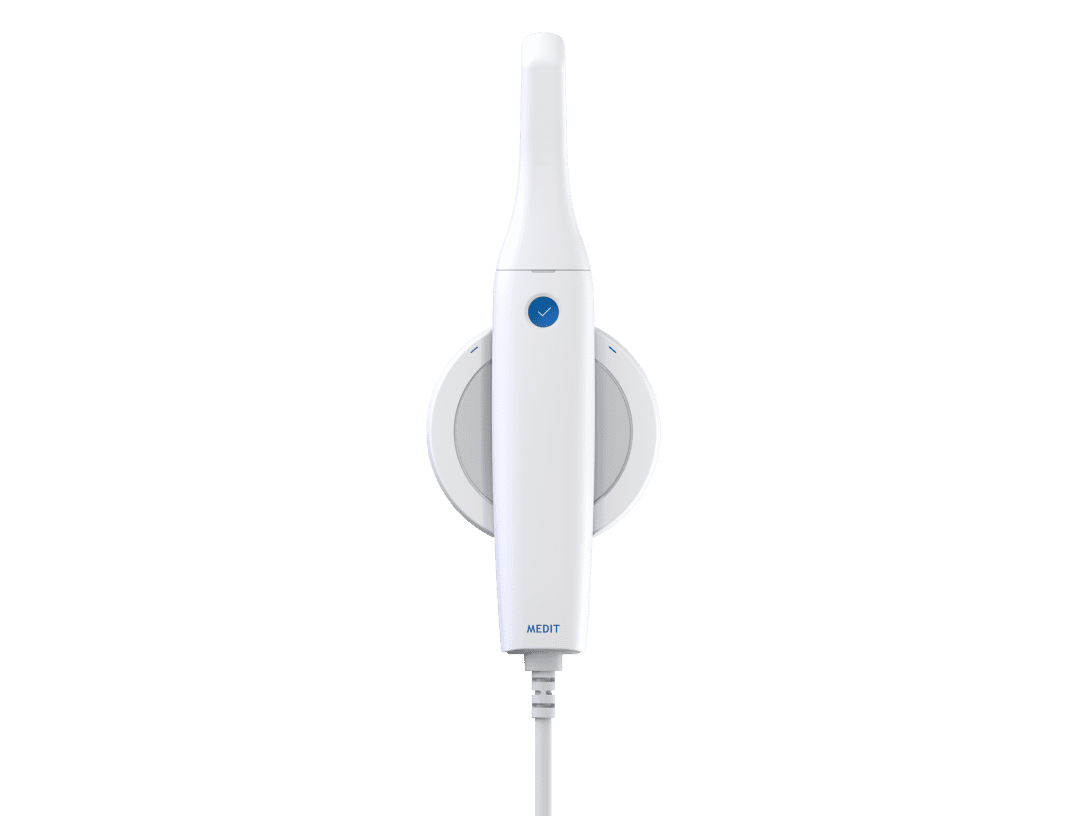
The following case demonstrates how a symptomatic cracked tooth was treated with an emax restoration that was fabricated / seated during the same appointment as it was prepared. The patient had a heavy gag reflex and the preparation and access were difficult. The medit i500 was utilized and the restoration was designed with CAD-Ray’s design software, powered by exocad, and then milled with the Z4 milling machine by VHF
In this pre-op of video, trans-illumination was utilized to highlight the lack of light propagation at the crack line. Moreover, the patient was percussion sensitive on the lingual cusps for over 5 days where he initially developed symptoms
The Medit i500 software was launched while the patient was anesthetized. The appropriate job definition was defined where we identified that a pre-op scan would be taken. We also identified the spacer parameters and the marked the opposing dentition. All of these items define the image catalog that will be launched when we capture the optical impression (there will be a preparation model, a pre-op model, the opposing, and minimally one bite registration)
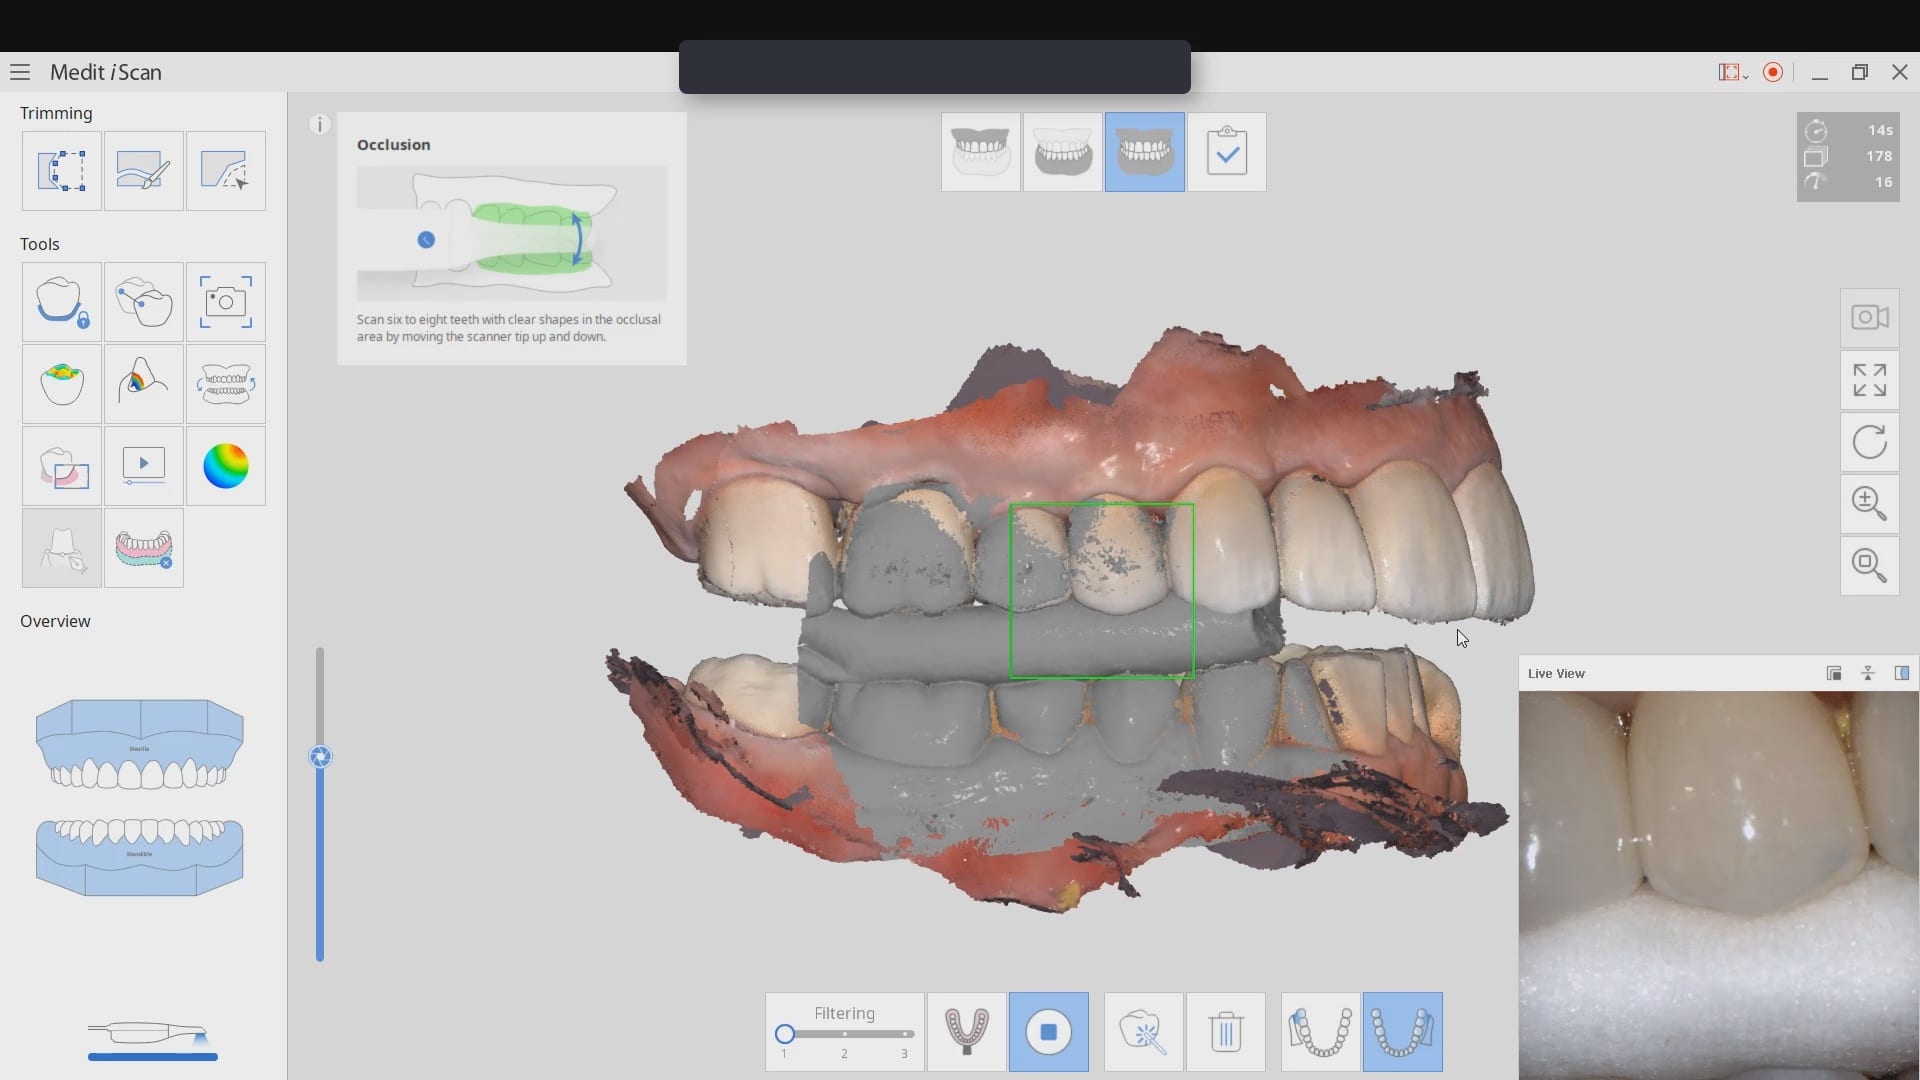
While anesthetic was taking affect, salt on the tongue was used to suppress the gag reflex, and the opposing arch was imaged. Then the lower arch was scanned and the bite was captured. The software then was set to the mandibular arch where the tooth in question was cropped out of the equation.
A great benefit to this approach is that you can analyze if you have taken the bite registration correctly before you even image the preparation. Sine the medit i500 can capture color, you can can the patient bite down on articulating paper and pick up the color renderings while imaging. You can then compare the digital occlusal stamps to the ones left behind by articulating paper. This is a great way to gauge if you or the patient has introduced errors in the capturing the correct occlusal relationship between the upper arch and the lower arch

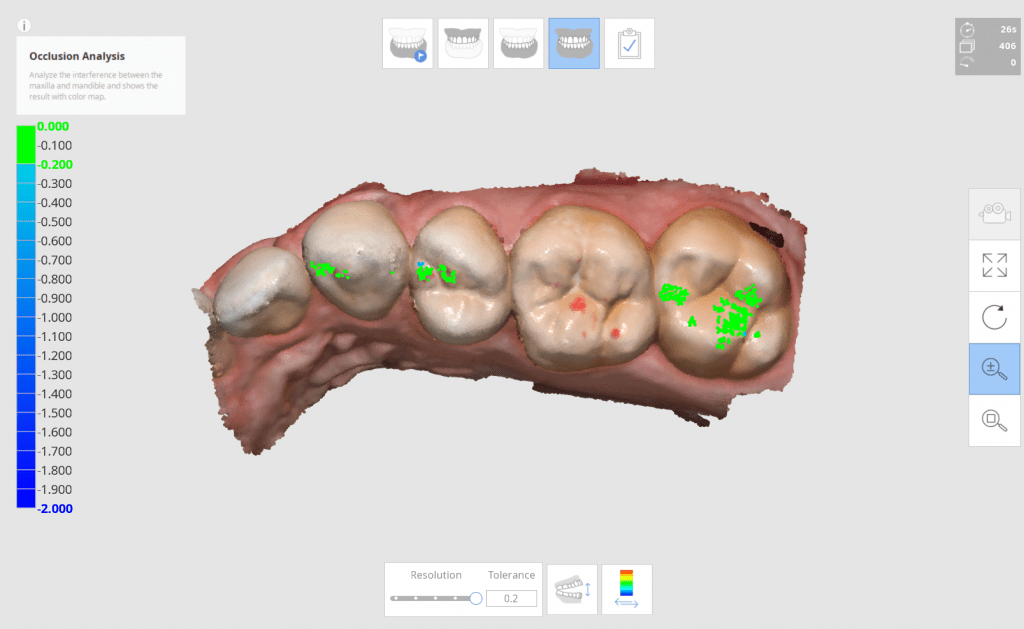
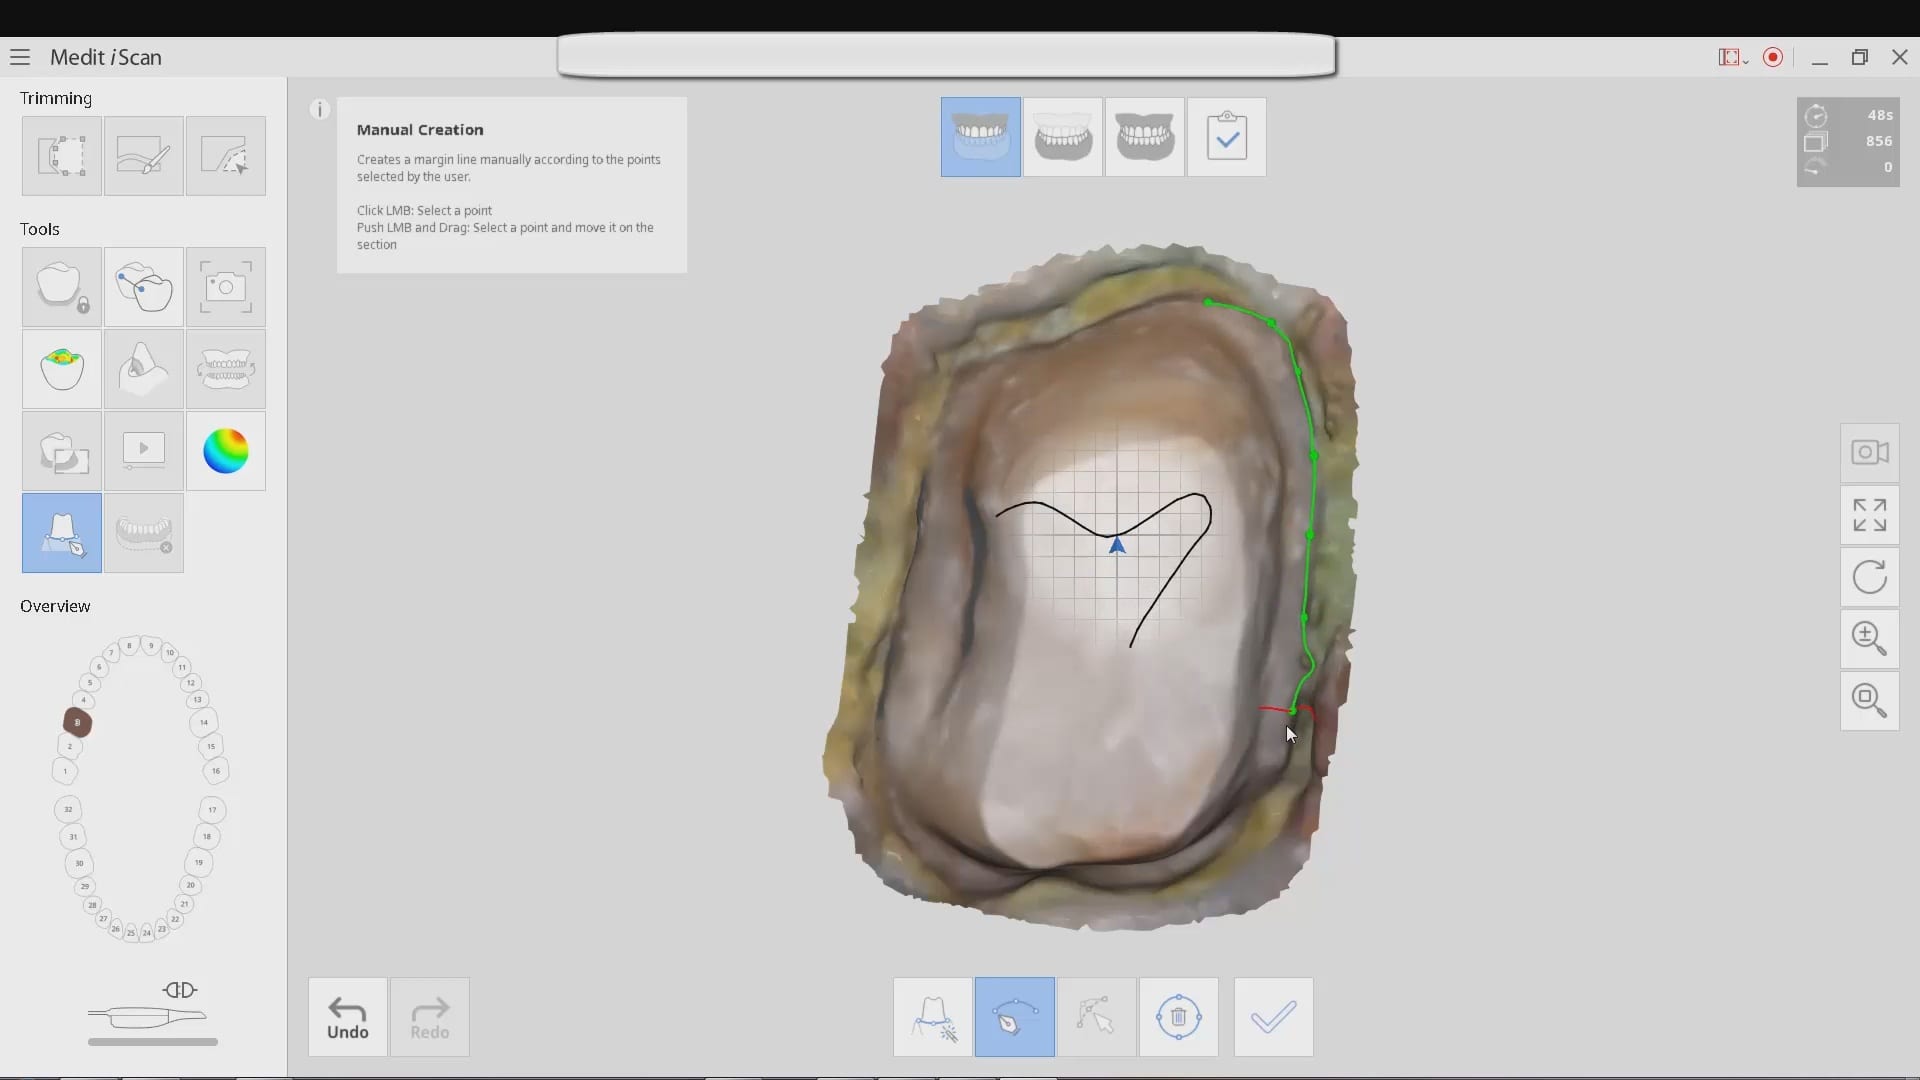
Since the patient was very sensitive while taking impressions of the tongue, the model of the preparation was built in multiple segments and steps. With the medit i500, the initial part of the preparation was imaged, certain areas were cropped out, then the tip of the camera was used to displace the tongue so the lingual margins could be captured. The image itself was capture in the local HD mode. The attached video demonstrates how areas were protected with the software so that we did not inadvertently introduce errors to areas that already had accurate data captured
Once the image was captured, it was processed and directly launched into CAD software. the pre-existing condition was replicated in the design of the crown and minor adjustments were made to its morphology while taking the opposing dentition into consideration
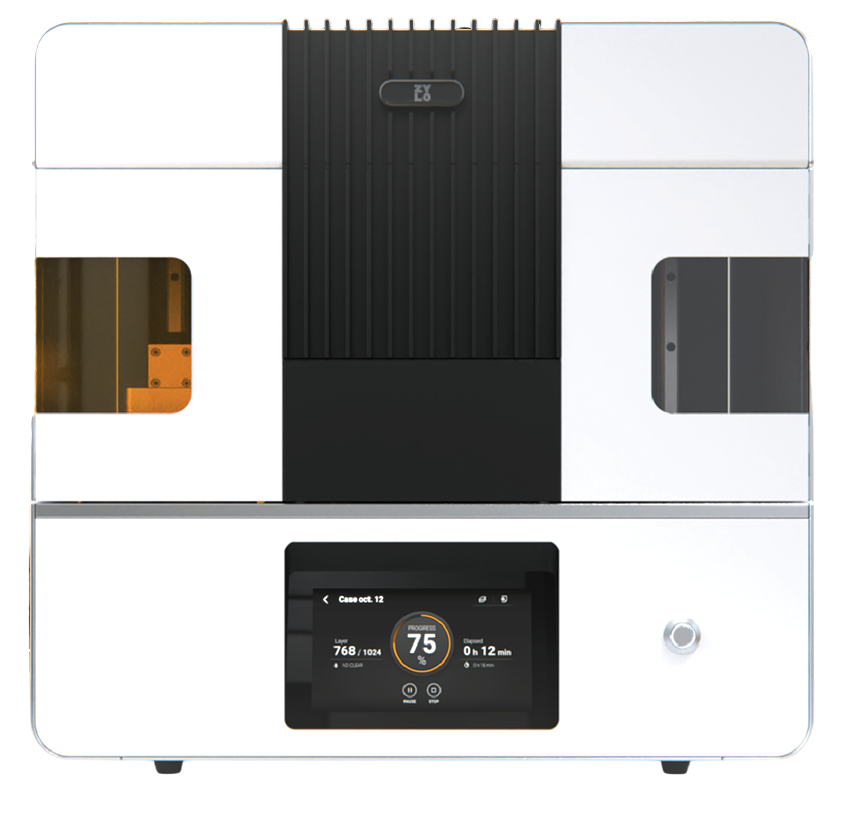
Once the restoration was designed it was automatically transmitted to the milling machine for fabrication. After it was milled, the restoration was checked for fit and contacts while in its blue stage and then crystalized in an oven. Once cooled it was seated with resin cement.
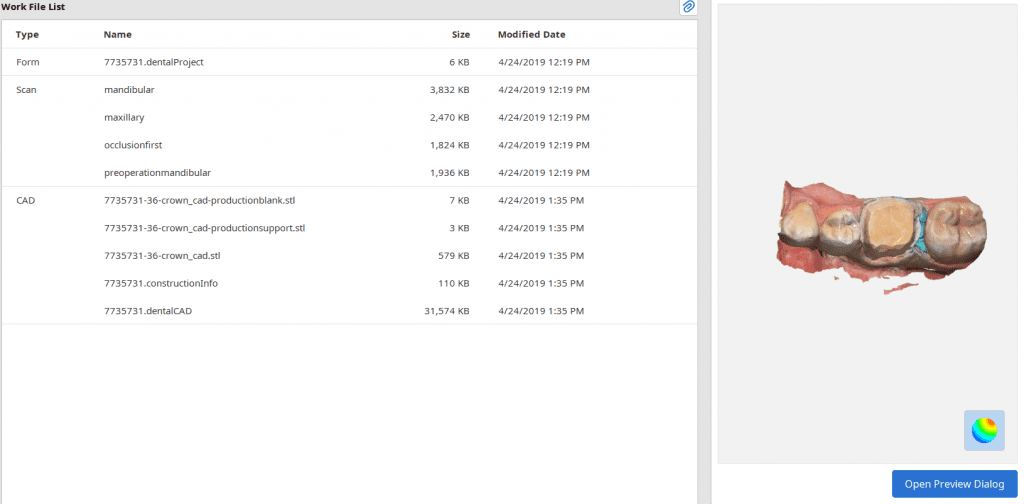
The Meditlink software has a Work File List that is maintained after you have finished your design. It hold the arches, the occlusion, the restoration stil file and the dentalCAD file that you can relaunch to either continue with a previous design or launch a whole new design





You must log in to post a comment.