Meditlink Registration and Software
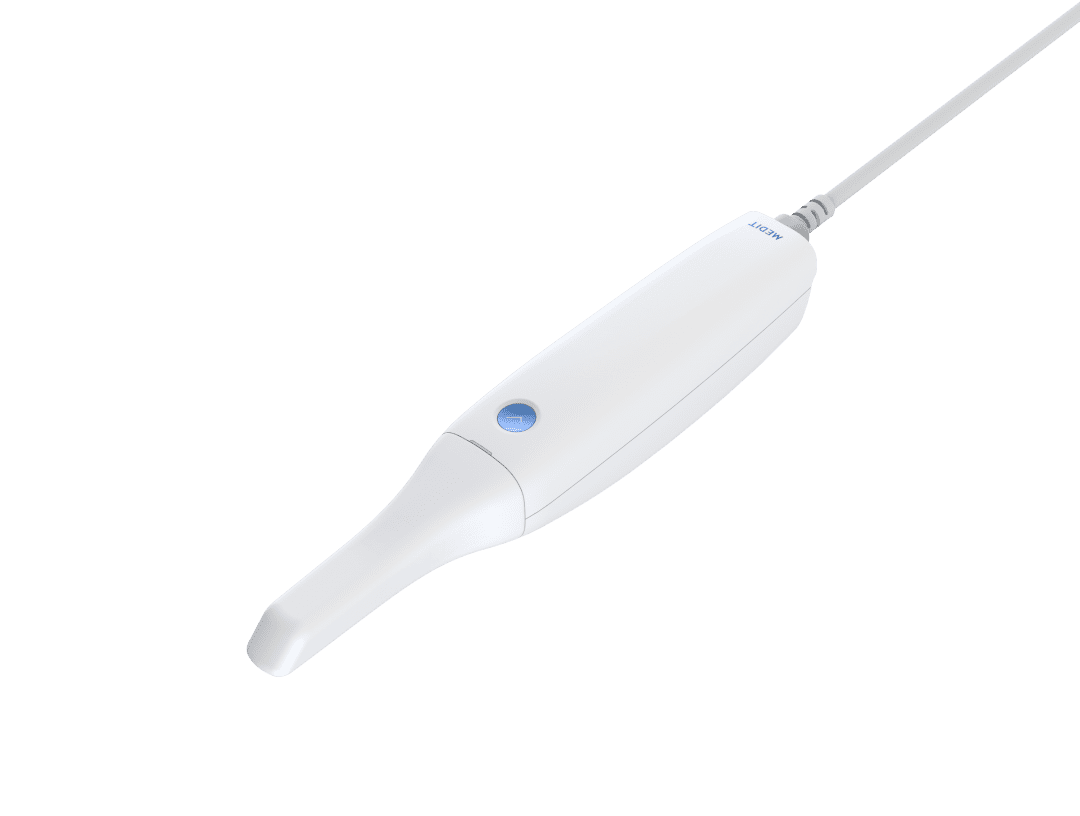
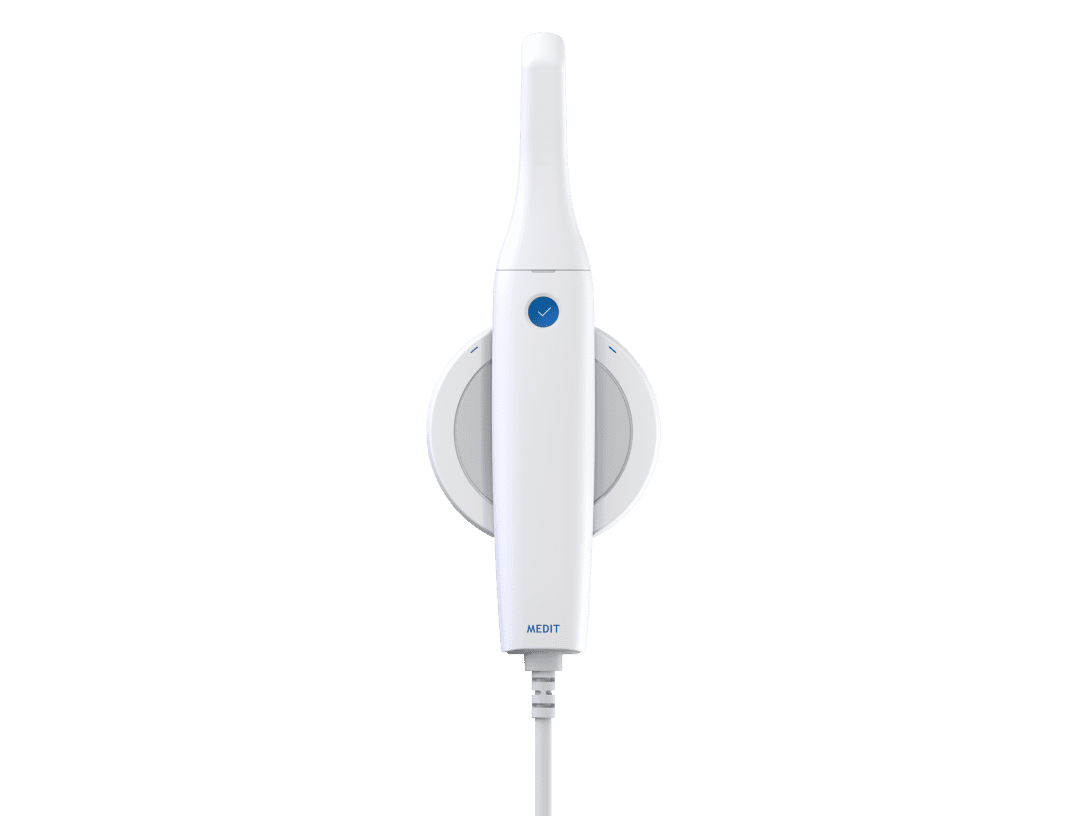
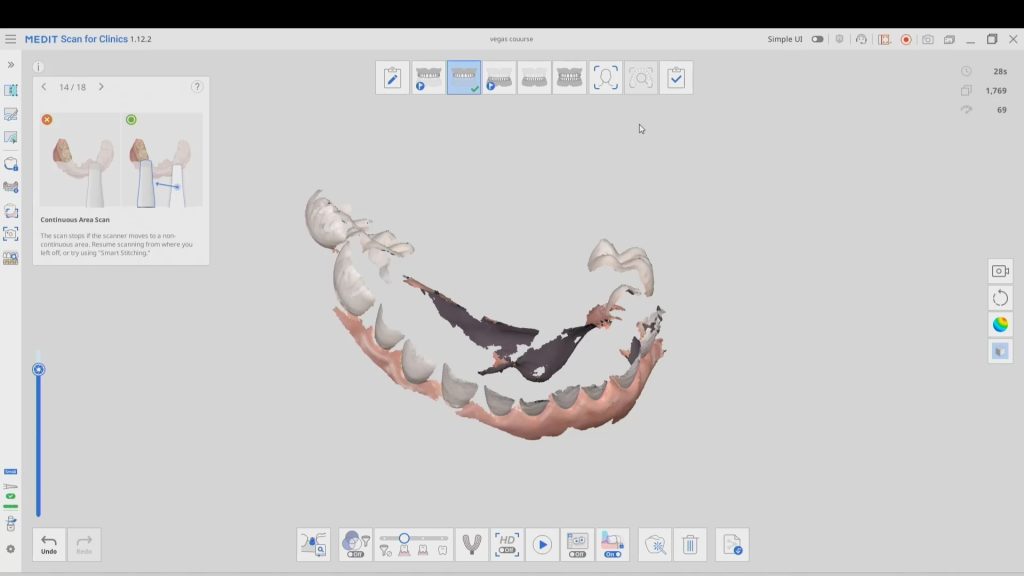
Meditlink is the software that operates the Medit i500 camera. As a clinician, you must register on the website meditlink.com and then download the software once you are logged in. Once the software is installed locally on your machine, you can start scanning immediately. To connect a lab of your choice, you must do so through the website. You cannot connect with a lab from the local software on your machine. The following video shows how you must register on the website, sign the terms of agreement, and start using the software
Video of Meditlink Registration Process
This video shows the registration process for the Medit link software. First, go to Meditlink.com and create an account. Select “Don’t have an account? Sign up.” If you are a lab, register as such; if you are a clinic choose this option. You must originally register as an administrator, but then you can add members. A form will pop up that you must fill out. Make sure to check the availability of your clinic’s name and email. Select “Use” once you find fields that are not yet in use. Once you fill out the required fields, agree to the terms and conditions. You will not be able to register your account until you check the availability of your clinic’s name and email. The website will send you a conformation email that you must verify in order to continue with the setup of the software.
Log back in on meditlink.com using the credentials you just created. Once you enter the portal, you will get a “Notifications” page regarding updates to the software. You will also see a “Welcome” page that gives you the final steps to establish your account and download the software. Fill out your “Organization Information.” You will see a button that says, “Download the application.” Choose this option to begin the download.
In the section labeled “My Account” on meditlink.com you can choose to “Invite Colleagues” to engage in communication through Medit Link. Just type in their email to send an invite to sign up. Go to the “Partners” tab and find any group or lab you would like to work with. Selecting “Request Contract” will send a contract to the selected group to link through Medit Link. New labs must submit their fees for all different procedures in order to link with different organizations. If the lab does not designate a price for a given procedure, you will not be able to send a case to that lab involving that specific procedure, regardless if the lab is able to process your request.
The “Payment” option is not quite ready for use but will be in the near future.
Once the software is installed on your computer, log in using your credentials, the same as the website. You will have a welcome screen. On the left side you have a toolbox that can access your “Dashboard, Scan Box, Order Box, Trash Box, and Settings.” The “Scan Box” is where you will be doing all your work, like creating new patients and capturing images. The “Order Box” is where you send your cases to labs. The “Trash Box” is where you get rid of cases. The “Settings” will allow you to change your language, as well as tooth labeling criteria and mesh format. You are able to alter these per case as well.
Lessons
Meditlink v 2.0.0 and iSan v 1.2.0.0 (February 18 2019)
Please Share this:TweetWhatsAppRedditTelegramEmailPrintLike this:Like Loading… Related
Install Meditlink (v. 2.0.1 Patch – February 26 2019)
This video shows you how to download and install a patch update or software update to your Medit Link. Here we are logging into the desktop software. As soon as […]
Medit Link for Laboratories
Please enable JavaScriptplay-rounded-fill LinkEmbedCopy and paste this HTML code into your webpage to embed. Launch the Medit Link desktop application. Remember which credential logs you into each account. Logging in as a clinician gives you different options than logging in as a lab administrator. When logging in as a lab, you will see a different […]
Medit Link Offline and Online Modes
Please enable JavaScriptplay-rounded-fill LinkEmbedCopy and paste this HTML code into your webpage to embed. When working with patients, we recommend working offline. This is due to the fact that Medit will constantly try to link your information to the servers. This can slow down overall time. You must log in within 14 days of last […]
Meditlink Case Box
Please enable JavaScriptplay-rounded-fill LinkEmbedCopy and paste this HTML code into your webpage to embed. Here we will be showing you the “Case Box” in the Medit Link desktop software. Just a reminder, your username will decide what will be loaded and what you will have access too. The first thing you will see is any […]
Meditlink Order Box
To view the “Order Box” you must have a case submitted to the lab. When submitting a case, you must fill out the prescription form or you will not be able to send your case to the lab. The lab will receive all information you see in the dialog box, except the raw data files. […]
Meditlink Trash Box
Please enable JavaScriptplay-rounded-fill LinkEmbedCopy and paste this HTML code into your webpage to embed. When in your “Trash Box” you can click on any case and select “Delete Permanently.” In your “Case Box” you can select which cases to send to the “Trash Box.” You will not be able to delete cases if you have […]
Meditlink Settings Box
Please Share this:TweetWhatsAppRedditTelegramEmailPrintLike this:Like Loading… Related



You must be logged in to post a comment.