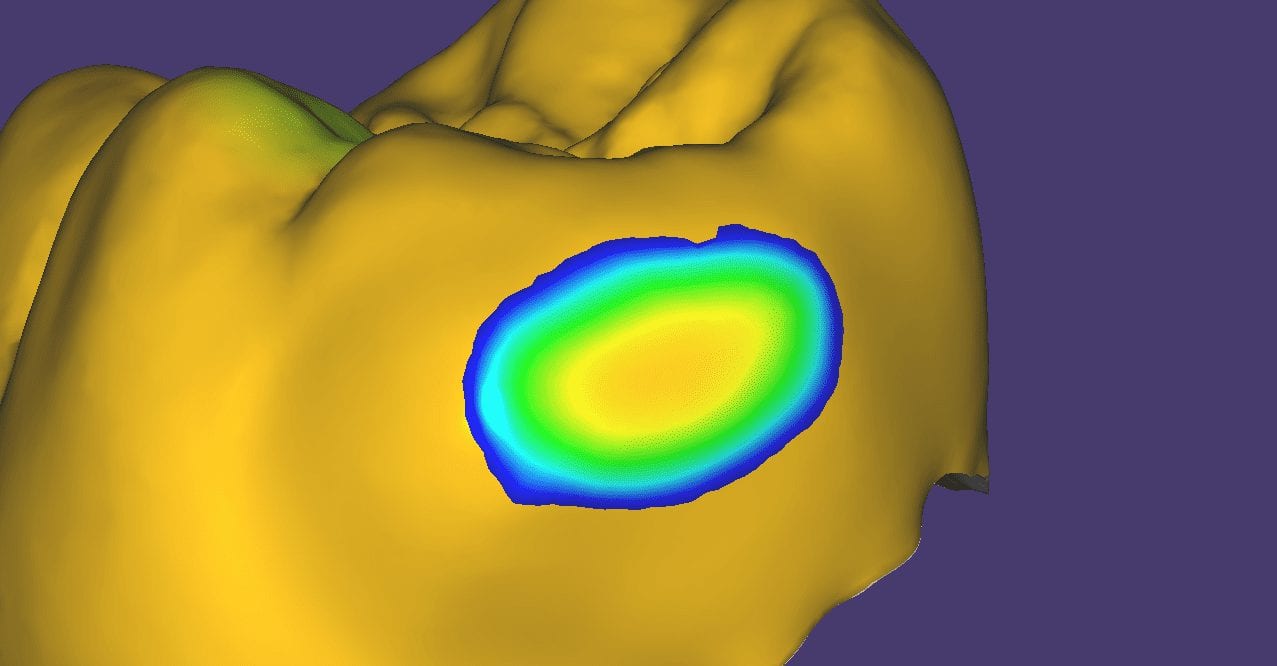
Look at that contact area! A dentist’s and lab tech’s dream, but you still get some crowns that are way too tight and you adjust like crazy until it seats and if you were too aggressive, you likely blew right through the contact. Here is what is happening:
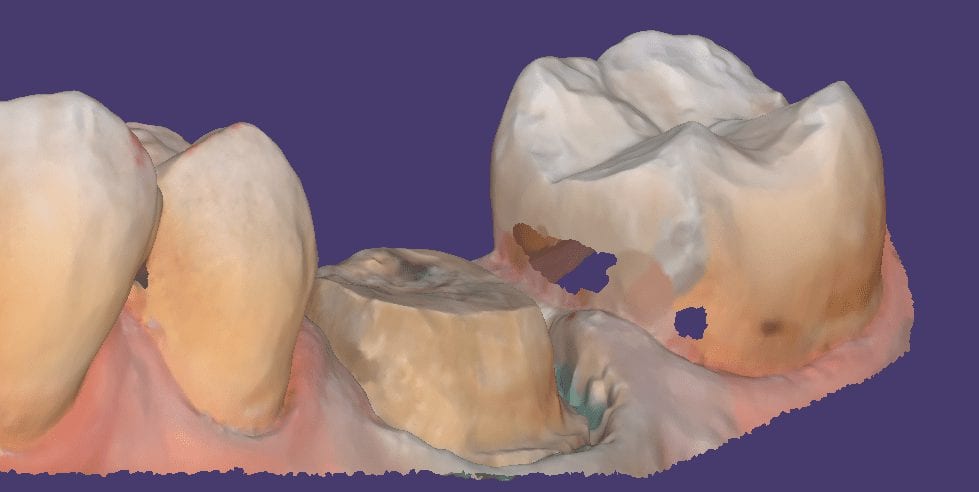
When you image what is happening is that you are imaging below the height of contours of the adjacent teeth / contacts. A designer just sees a big contact area with lots of colors and s/he is happy, not realizing that they actually made contact with material BELOW the height of contour of the adjacent teeth. This is a VERY common error. It will sound strange, but if you are an advanced user, consider NOT taking scans below the HOC and let the software drop a straight wall down to the gumline and your seat issues will disappear! You can also recognize this issue and communicate it to the lab so they can address it




You must log in to post a comment.